
Fixing a poorly ZX81
You may have already read my posts on fixing my poorly ZX Spectrum, which ended up being possibly one of the longest retro repair projects in history. I also had a poorly ZX81. This was my first computer, and bought by my nan. It was this very machine that sparked my interest in computers that remains to this day.
As far as I was aware, this machine worked, but was suffering from a broken keyboard ribbon cable. And last time I’d tested it, the video output (to an LCD screen) was very poor. So the first task was to retest, determine what the faults were, and get repairing.
I could not get the ZX81 to tune into my Samsung LCD TV via UHF, so tuned it into an old VCR I have knocking around for this kind of work. The VCR was then connected to the TV via SCART. I managed to get a stable picture, so set around converting the ZX81 to output a composite video signal. You can read about that here.
If you are just looking at replacing the keyboard, the screws on the back and motherboard are pictured here.
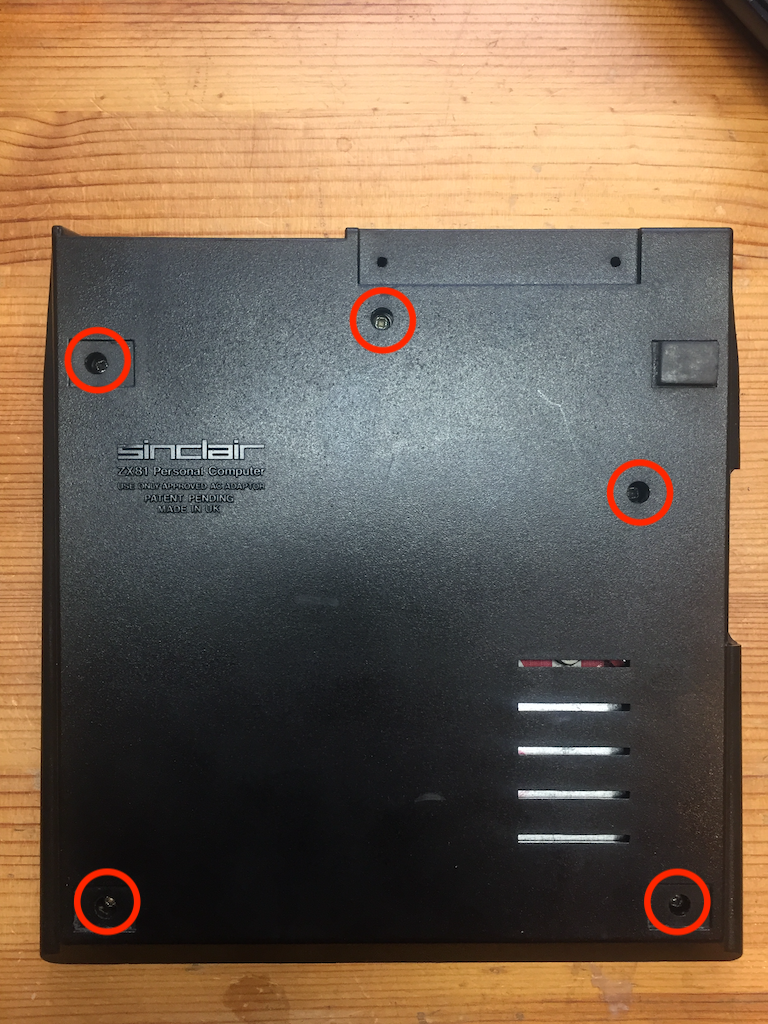
Screws on underside 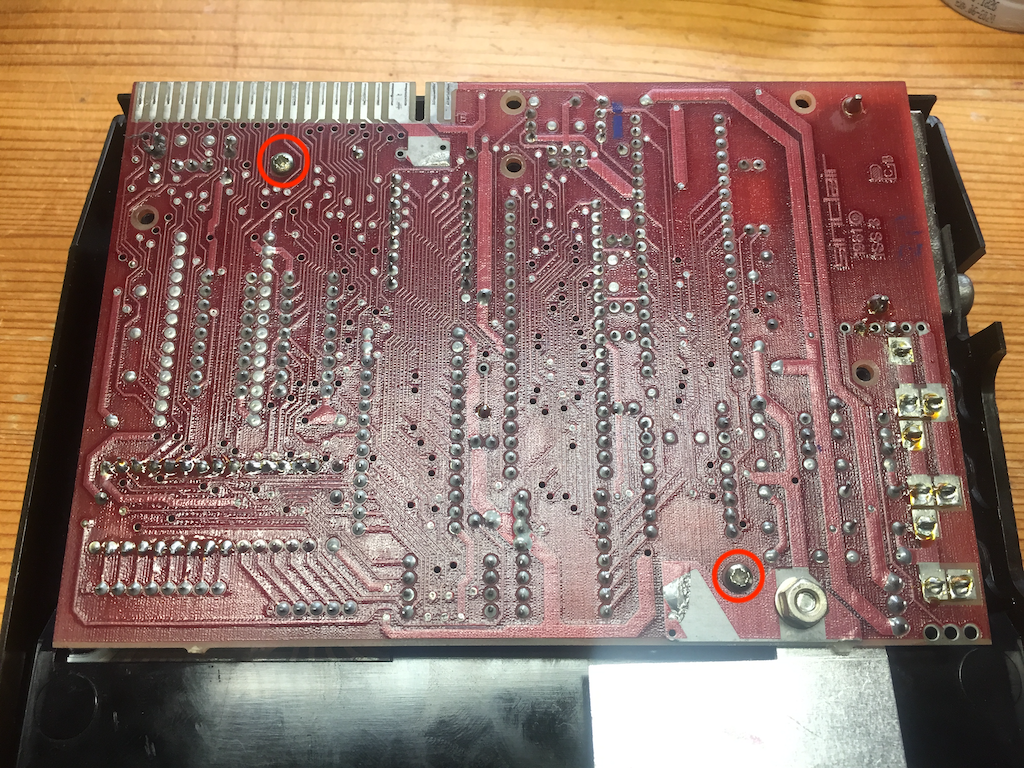
Two screws on motherboard
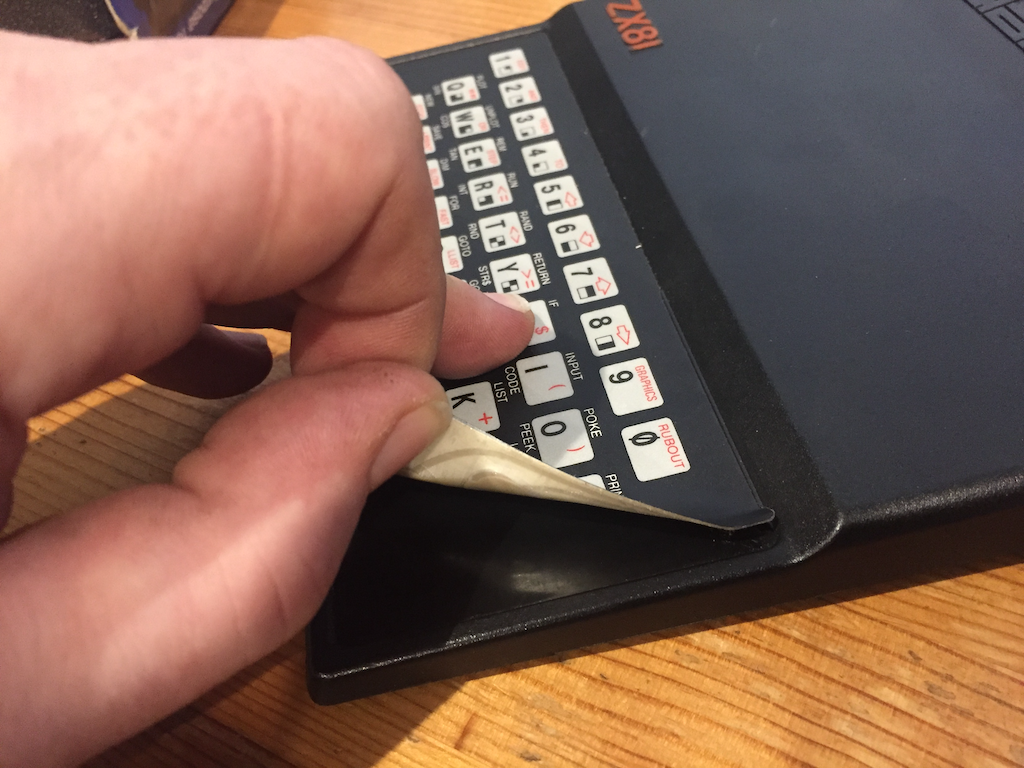
Next step was replacing that broken keyboard. Like the Spectrum keyboard membrane, parts are still available, so ordered a new one from RWAP Software via Sell My Retro. Whilst waiting for that to arrive, I peeled the old keyboard off. This felt so wrong.
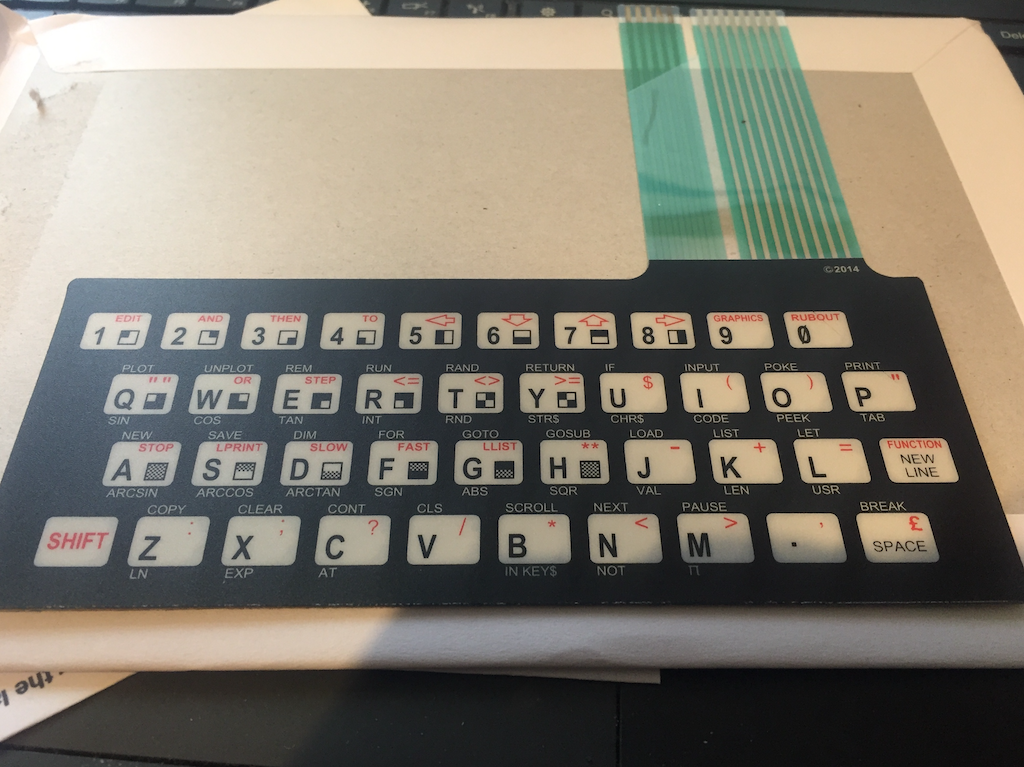
After removing all the adhesive off the ZX81 case, it was a simple case of sticking the new keyboard membrane in – it came with a self-adhesive backing so was just a case of poking the ribbon cables through the slots in the case, aligning it, and pressing down.
Connecting the ribbon cable is quite simple, but take care not to bend the cables too much. I also took care to clean the motherboard edge connector with a soft eraser on both sides, ready for testing the rampack.
I loosely assembled the ZX81, gave all the keys a quick test, before screwing everything back together, remembering where all the screws go (not immediately obvious), and sticking the three removed feet back on with small tabs of double-sided tape.
I also checked my 16K rampack to ensure that it was also working.
PRINT PEEK 16388 + 256 * PEEK 16389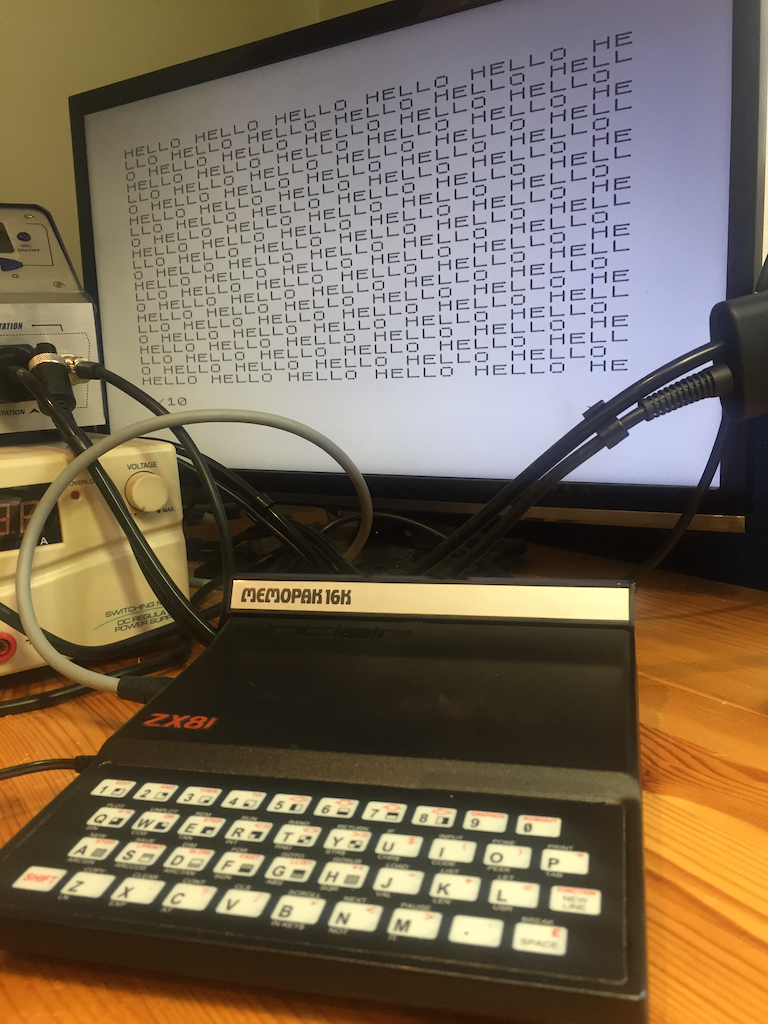
Quick test all the keys worked 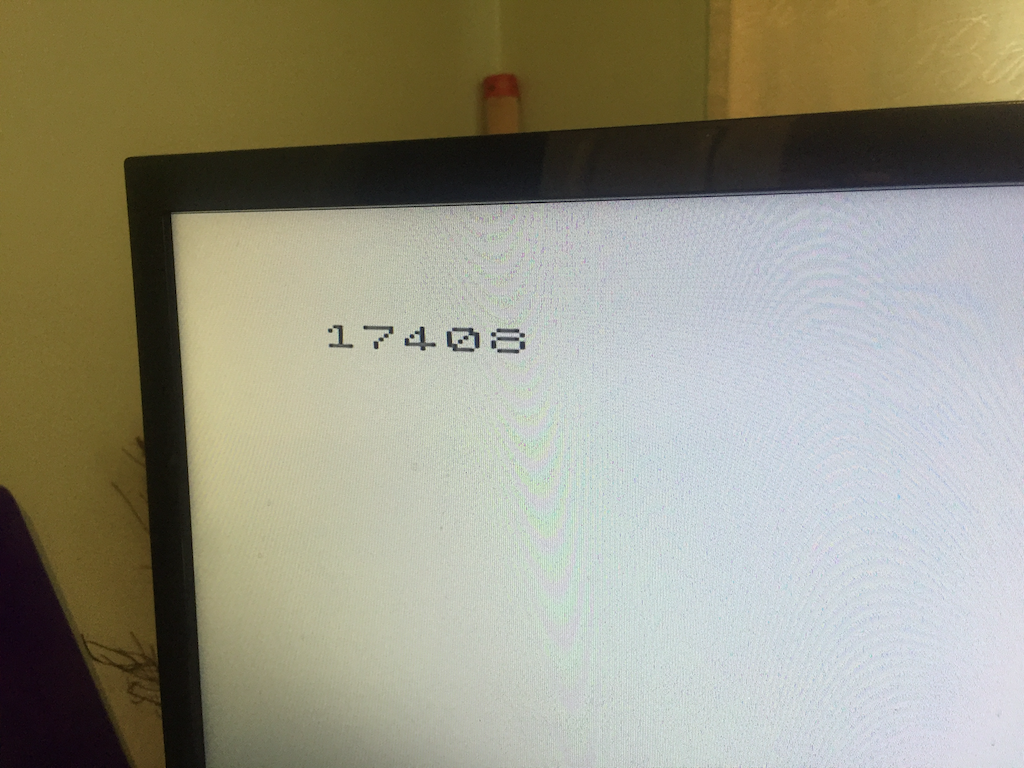
Correct value for 1K 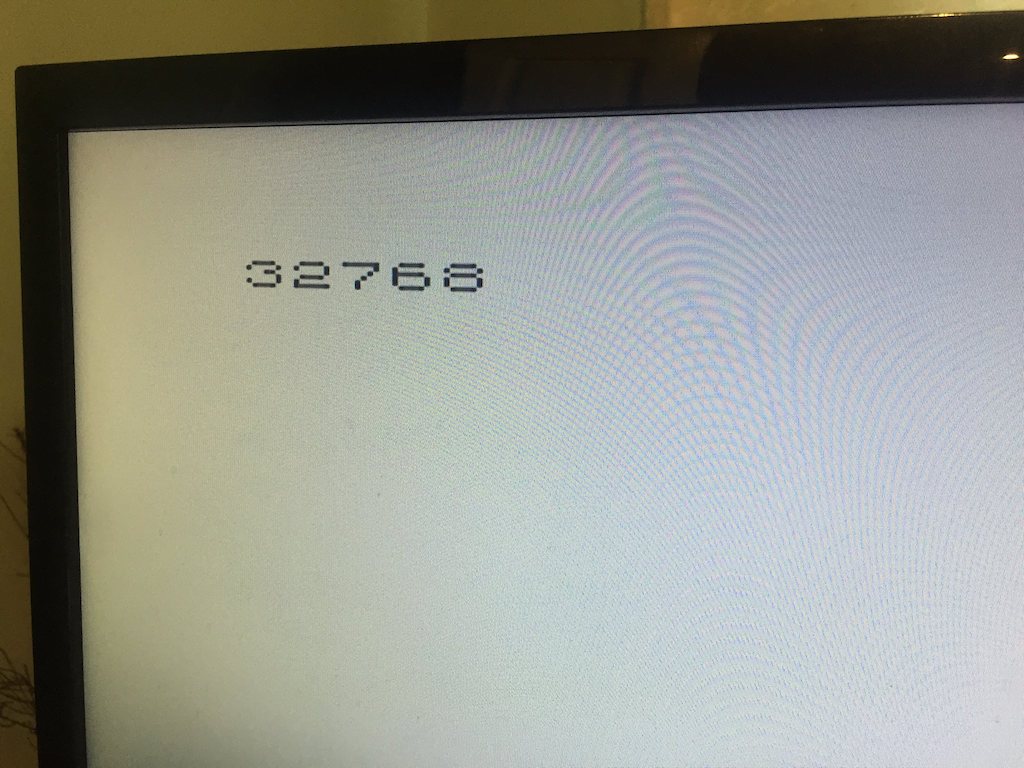
Correct value with 16K rampack 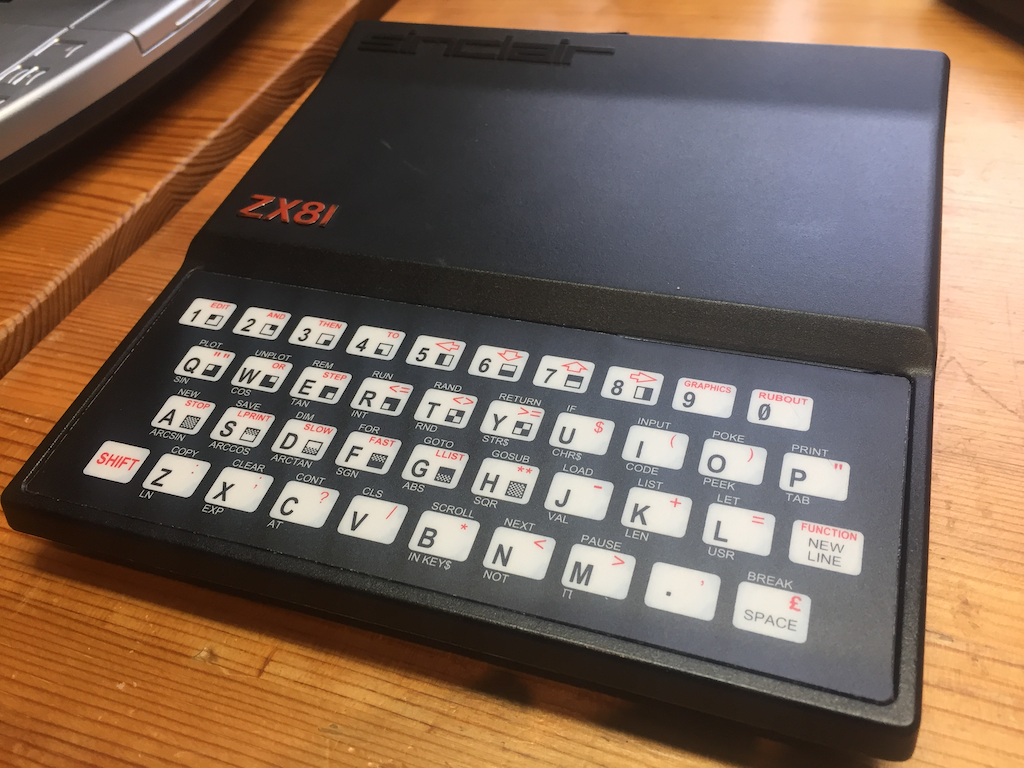
The refurbished ZX81
Overall I am very pleased with this refurbishment – it has given this little computer a new lease of life and I will look forward to playing some games on it soon.