BBC Basic for the Cerberus 2080 (Introduction)

First, an introduction.
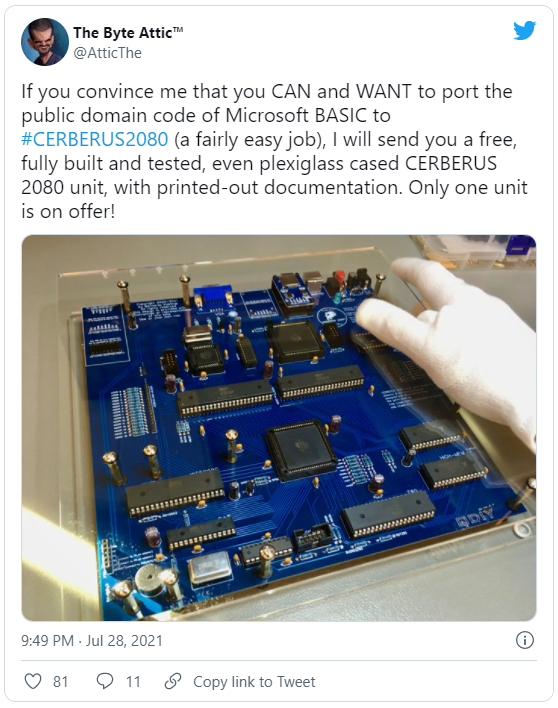
Near the end of July Bernardo Kastrup (aka The Byte Attic) put a shout-out on Twitter:
A few of my followers suggested I was that man, given my previous experience porting R.T.Russell’s excellent BBC Basic for Z80 to my BSX homebrew and the Spectrum Next.
Although the prospect of a shiny new toy to play with was tempting, my projects are backing up, and I would probably not get started on this until later in the year.
Then a couple of my followers mentioned BBC Basic for Z80 to Bernado. Would he accept that, instead of Microsoft BASIC? They reasoned as I’d already done most of the work, it may be sufficient to tempt me over.
Well, it was.
And a week later, the Cerberus arrived from the Netherlands on my doorstep.
What is the Cerberus 2080
The project is named after Cerberus, the creature from Greek mythology, a three-headed dog that guards the gates of Hades. The reason for this is that the board has three processors: a 65C02, Z80, and ATmega328p. These are all physical processors, no FPGA emulation here.
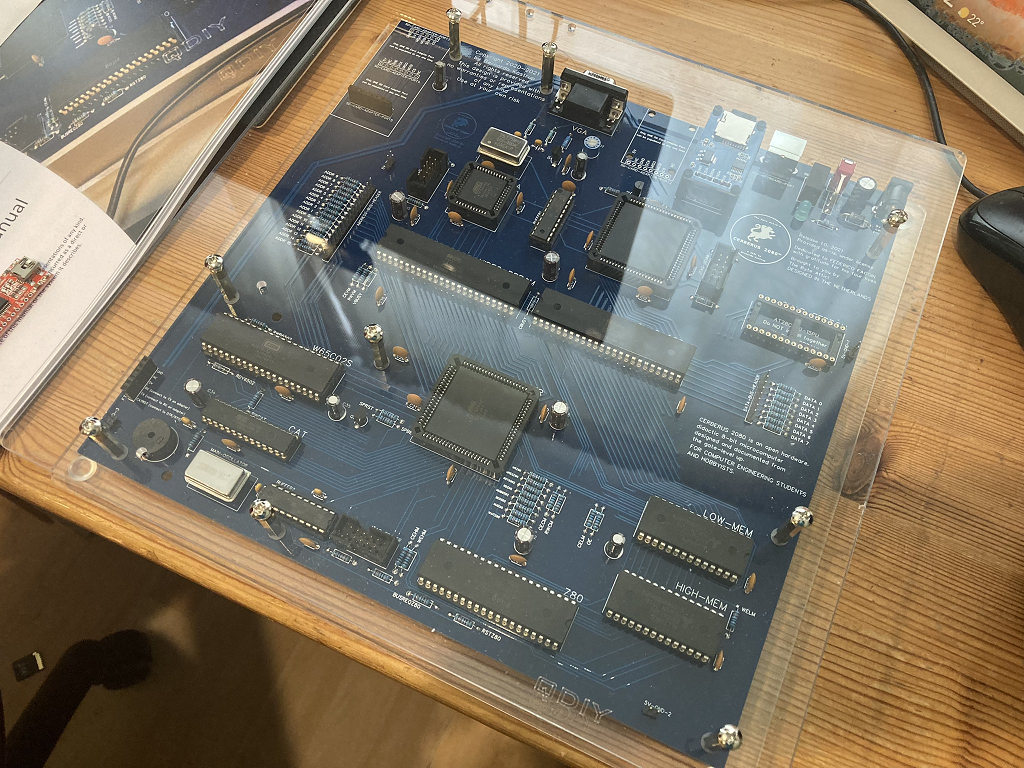
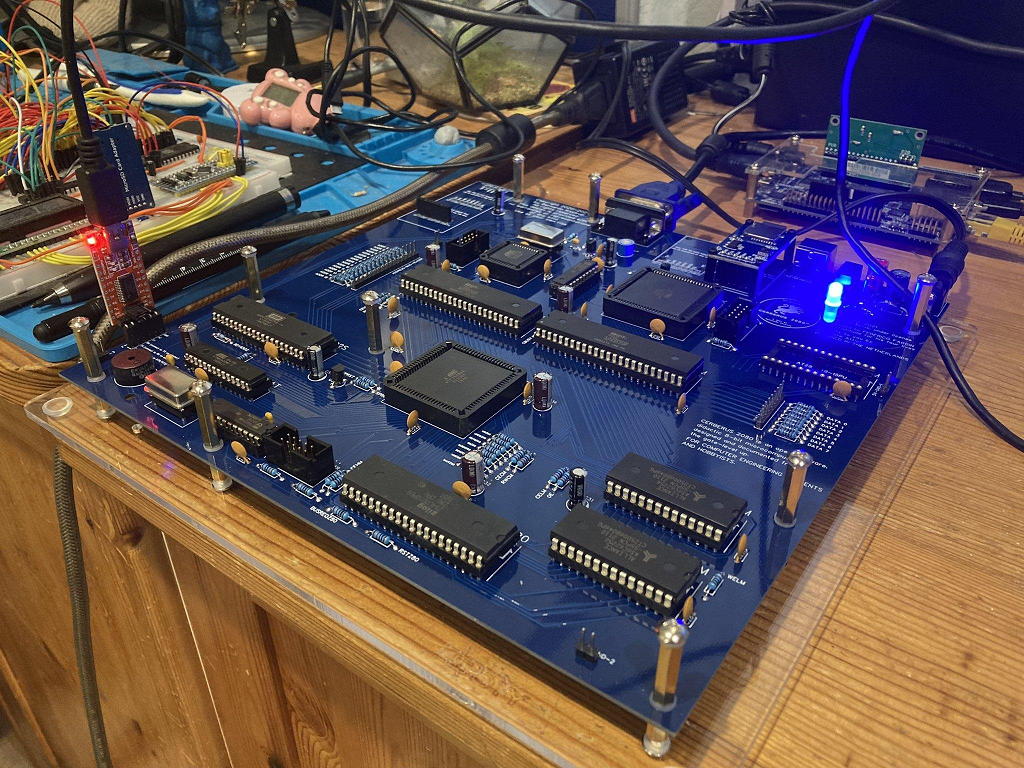
It’s a relatively large board compared to the Raspberry Pi or MiSTer FPGA. It adheres to the Micro-ATX standard, measuring 24cm along each side, and to the rear of the unit (from left to right) are connections for power, a power switch, PS/2 keyboard connector, SD card adaptor, and VGA video

There are 2 x 2K dual-ported video RAM chips, one for storing character data, the other for the video RAM, and 2 x 32K SRAM chips for storing program data.
In addition to a number of discretes, the motherboard has 3 custom CPLD chips to aggregate the glue logic.
To power up the board you will need a VGA monitor, a PS/2 keyboard, and a 9VDC power supply, centre positive. It is possible to use a dumb USB to PS/2 adaptor, but bear in mind that not all modern USB keyboards support the legacy PS/2 protocols. My Dell USB keyboard doesn’t. Thankfully a friend had an old PS/2 keyboard going spare at work.
On boot, the board will play a short jingle, and display the boot screen for the BIOS.
The ATMega328p is responsible for running a simple yet effective system user interface that allows the user to load, save and execute user programs off the SD card, and set various options.
The BIOS reserves a couple of bytes of RAM for a mailbox to communicate with the running CPU, but other than that runs entirely off the ATMega’s internal storage, leaving more RAM available for the Z80/6502 code. The BIOS code is available as an Arduino sketch, and can be modified and uploaded quickly using the Arduino IDE and an FTDI cable.
Only one of the 8-bit CPUs can run at a time. The running CPU (Z80 or 6502) and the CPU speed (4Mhz or 8Mhz) can be selected from the BIOS. This must be done before the loaded program is executed for obvious reasons; running Z80 binary code on a 6502 will not work, and vice versa.
Video is very retro in one respect, a 40 x 30 character mapped monochrome display with 256 programmable character definitions, and modern in another. The output is incredibly crisp even on my cheap LCD monitor. The BIOS also loads a ZX Spectrum inspired character set into character RAM, which made me feel very much at home.
First Impressions
It is an incredibly striking motherboard, especially when sandwiched between plexiglass boards. No expense has been spared with regards to the construction; all components are socketed, and there are plenty of neat touches, such as the stand-offs for the SD card socket.
The architecture is interesting. Although I’m primarily targeting the Z80 processor for this first project, the concept of having a board that can also run 6502 code is intriguing.
And the system is fairly transparent, with the ATMega328p code synchronising the show in the background by toggling various pins to start and stop either of the CPUs, set the CPU speed, and trigger the NMI. I like having full software control of the system. For example, it was a 10 minute task to rework the NMI to trigger on a 50hz timer rather than after every keypress.
The intention of this board is for it to be an open-source educational platform for computer engineering students and hobbyists. I think Bernado has done a really good job designing something that is simple to understand, and configure, yet complex enough to be considered equivalent to a ZX81, TRS-80 or Commodore Pet.
The board is completely open-source; you can order the PCB and assemble from scratch using the files on the Cerberus GitHub page. Or order one in kit-form or prebuilt from the Home Computer Museum in the Netherlands. The intention is for the entire system to be open-source, including all the software. I like where he’s going with that.
The Challenges
First, the default BIOS is not really set up for a programming language. Whilst it passes the ASCII codes of the alphanumeric keys to the running CPU, it does not pass any control characters, such as the cursor keys or ENTER. In addition, the ESC key is used to return the user back to the BIOS – not ideal as I’d like to use that to escape from a running BASIC program.
It also only allows communications one way. The ATMega328p reads the keystrokes from the PS/2 keyboard and writes the keycode directly to a mailbox memory location, and sets a flag to indicate a key has been pressed. The running CPU can then read that memory location, handle the keypress, and clear the flag to indicate it has processed the key.
This is great, and works fine, but does not allow the running CPU to send requests back to the ATMega328p. This will be required as peripheral access (keyboard, SD card, beeper) are all handled by the ATMega. So I’ll need to write some code to handle file I/O and sound.
The good news is that loading and saving from BASIC can be greatly simplified as the ATMega328p has access to the RAM. The bad news is that the ATMega only has 32K of EEPROM, and the BIOS uses about 80% of that. So the code will have to be tight. And ideally standard; it makes more sense for the Cerberus to have a single BIOS that can be used by most applications, rather than lots of bespoke ones.
BBC Basic for Cerberus
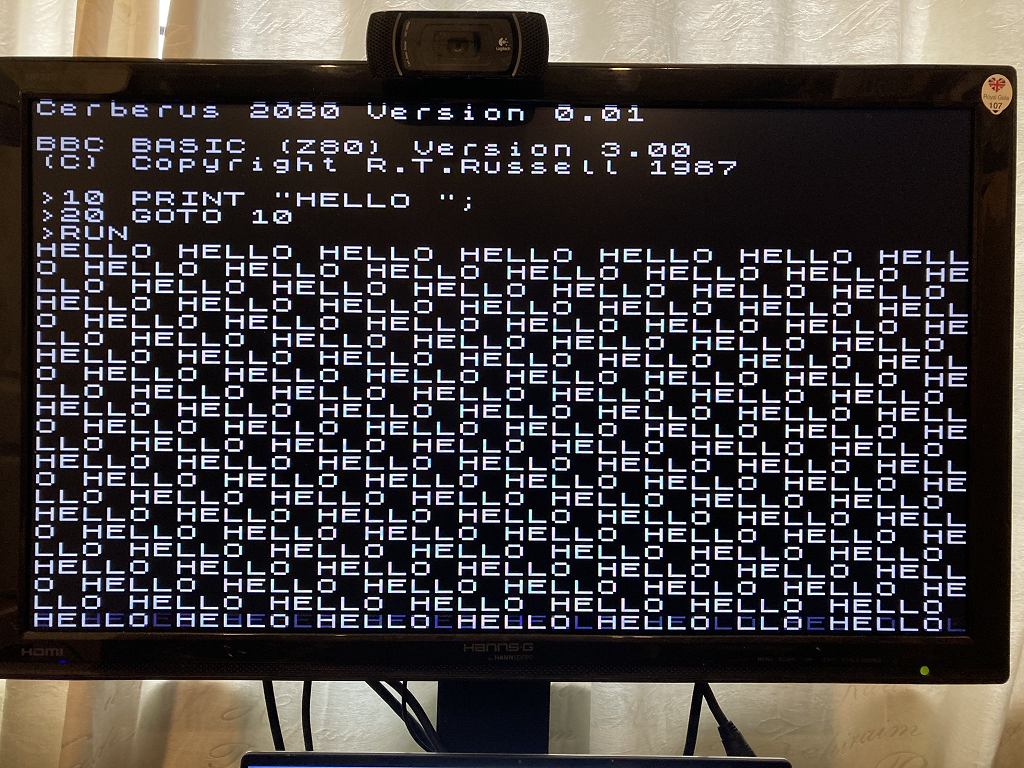
Anyway, back to the task at hand – porting BBC Basic for Z80 to the Cerberus. Thankfully this is not as complicated as it sounds. I’m maintaining two other versions at the moment. One I’ve started for my BSX homebrew computer, and a nearly complete version for the Spectrum Next. The BSX version is closer to the Cerberus version in principle, though many tweaks I’ve made to the Next version have been ported across.
I’m currently on version 0.02, and this supports:
- A fully functional BBC Basic IV interpreter
- Keyboard scanning and text output works fine
- The Spectrum Next line editor including a snazzy cursor routine
- 80×60 pseudo block graphics commands for plot and draw
- User definable characters have been implemented (VDU 23)
The BIOS has also been tweaked to support BASIC. This is the default BIOS with a few tricks borrowed from Andy Toone’s 0xFE BIOS.
- F12 is now the system button to return to the BIOS
- All available PS/2 keycodes are sent to the running CPU
- Serial keystroke data can be used alongside PS/2 keystroke data
- Assembled binary files can be transferred directly into memory via FTDI
- A 50hz NMI interrupt is triggered when the running CPU starts
- The default CPU is set to Z80 @ 8mhz, for convenience
- Compile time settings to increase upload speeds over FTDI
You can find the latest version of the project here on GitHub.


What’s Next
The next step is to add the reverse communications channel into the BIOS so that the running CPU can pass instructions to the ATMega328p.
I can then implement the BASIC LOAD and SAVE commands so that user files and data can be loaded and saved to SD card, and the SOUND command can access the beeper, to give the board a voice.
At that point I will call the main project complete, though will probably need to tinker with it to work with any proposed unified Cerberus BIOS code.
