
Fixing a Poorly Commodore 64 (Intro)
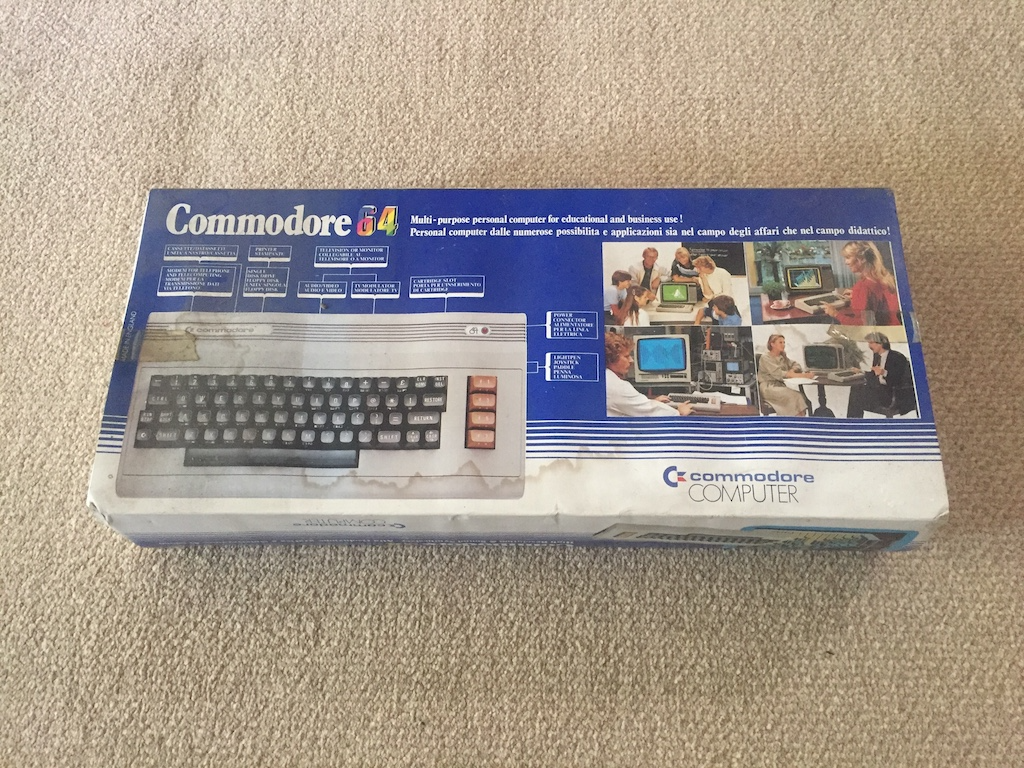
A few months ago at the beginning of the Covid pandemic, after a chance conversation online, a friend from church offered me a Commodore 64 that he’d owned from new. It was untested, and he was happy to donate it for me to play with.
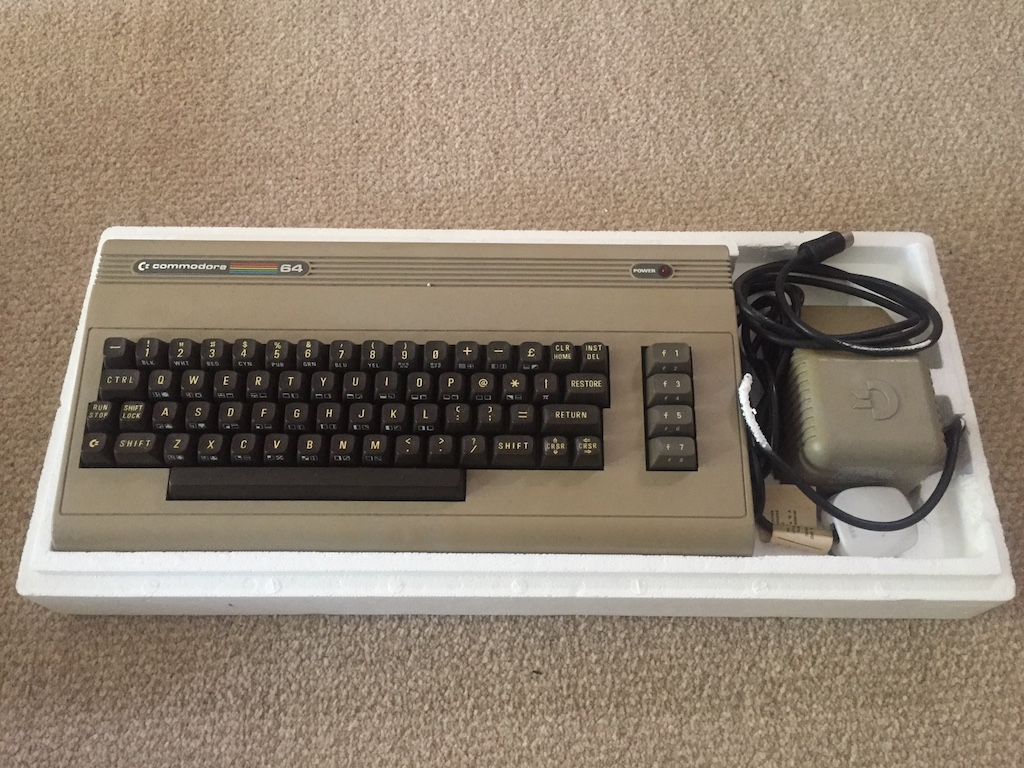
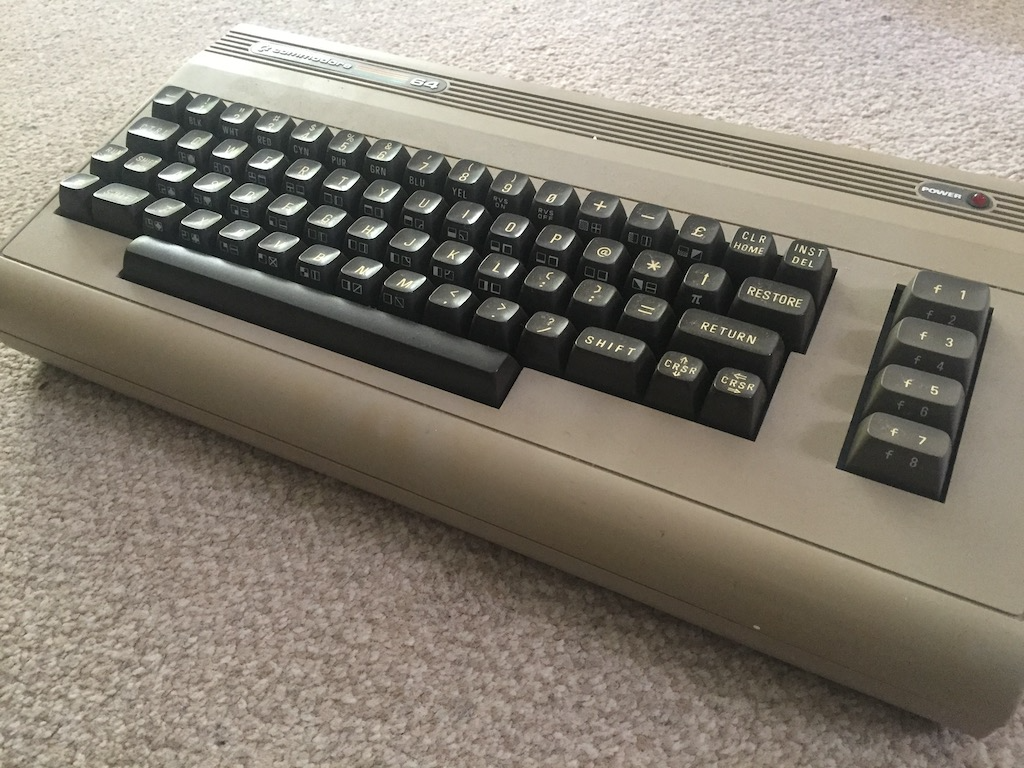
I snapped his hand off right away, and a few days later was the proud owner of a Commodore 64. It was the earlier ‘bread-bin’ style, a contemporary design that offers a full travel keyboard in a compact unit. The case is essentially the same design as the earlier VIC20.
Testing
I’d done my research already and was aware of a problem with the stock power supply, the so-called C64 killer. The PSU outputs two voltages; a 9VAC and a regulated 5VDC. It’s the latter that creeps up as the power supply deteriorates – anything above 5.2VDC is of concern, and above 5.5VDC you should really not be using the power supply at all. Thankfully the one supplied was just below 5.2VDC.
So with some trepidation I plugged it in to my old LCD TV and connected the power. And… well, nothing. I couldn’t get it to tune into an RF signal.
After checking the various voltages around the board I decided it was time to get the scope out. All of the signals checked out, with the exception of the address lines to the CPU. Most of them looked fine, but A1, A8, A9 and A12 to A15 were all stuck high.

A0 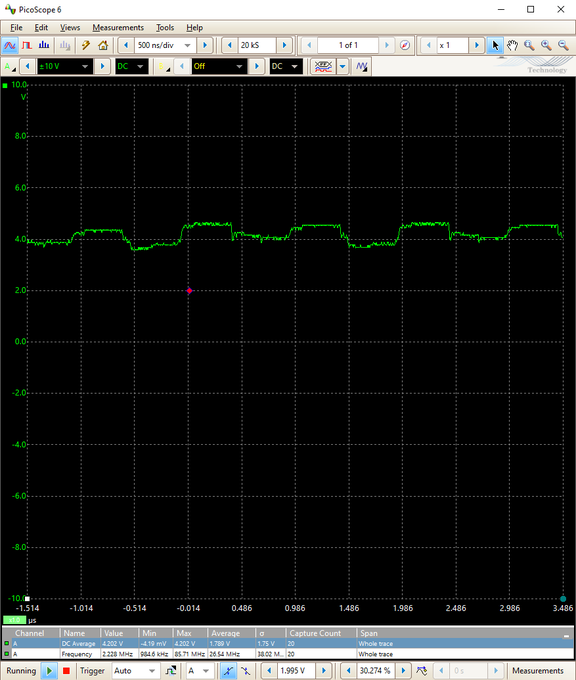
A1
At this point I knew that this was a sick puppy. I’d seen behaviour like this before on my ZX Spectrum. A chip was holding those address lines high. On the Spectrum it turned out to be a faulty upper RAM chip. Not being familiar with the C64 architecture I decided to hit the forums, and decided that the following course of action was required:
- Unplug the SID (sound chip) and test. The C64 will boot up fine without this, and the SID is usually socketed.
- Desolder the PLA chip and see if that fixes the stuck address lines.
- Desolder the 4164 DRAM chips and test.
- Then the MOS logic and multiplexor chips – they are prone to failure.
- Desolder the ROM chips and verify them in an EPROM programmer against a known ROM dump.
- Finally, if all that fails, desolder and test the 6510 CPU using a NOP test circuit.
I’d already made a start on this project. Shortly after the testing I’d unplugged the SID chip and desoldered the PLA, and the address lines were still stuck. The board was then popped onto my ‘To-Do’ pile and there it has sat for several months.
Anyway, I’ve got some spare time on my hands over Christmas, so have restarted this project in earnest, picking up where I left off, starting with the 4164 DRAM chips…