BBC Master 128 Restoration
I’ve been donated a couple of BBC Micros from a friend who is in the process of clearing out his late uncle’s house. The first, a BBC Model B, is in need of significant repair – I tested it after recapping the power supply and got the dreaded beep of death and no video.
The second, a BBC Master 128, is in much better condition.
Cosmetics
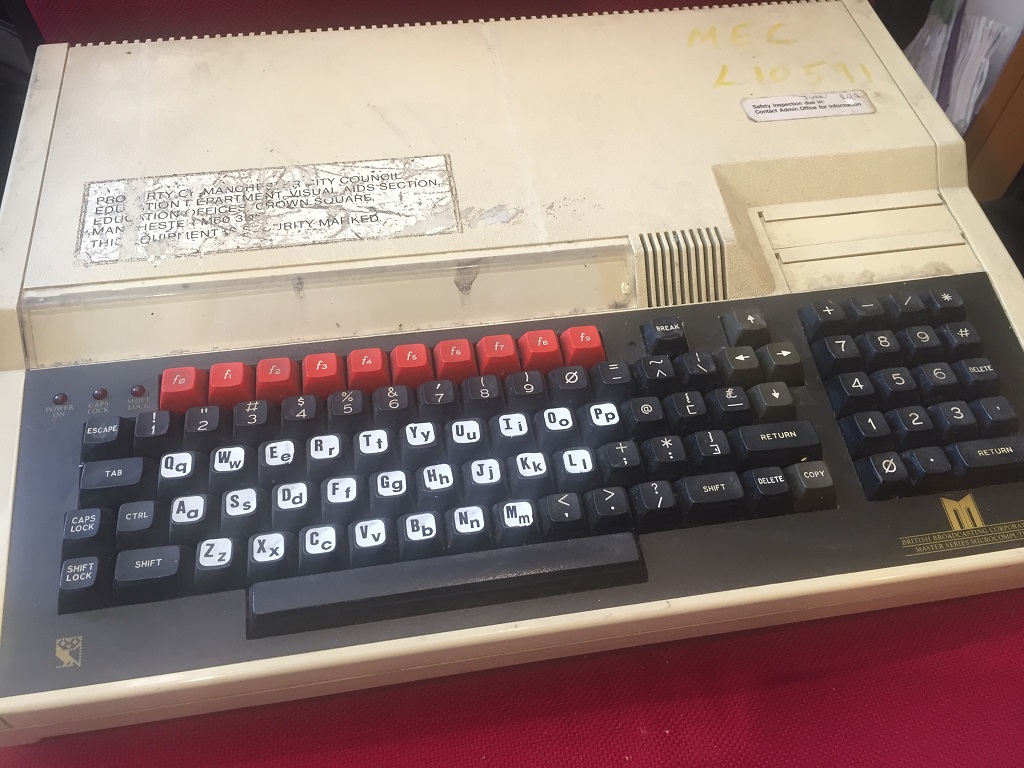
The machine had been used in a special needs school in Manchester.
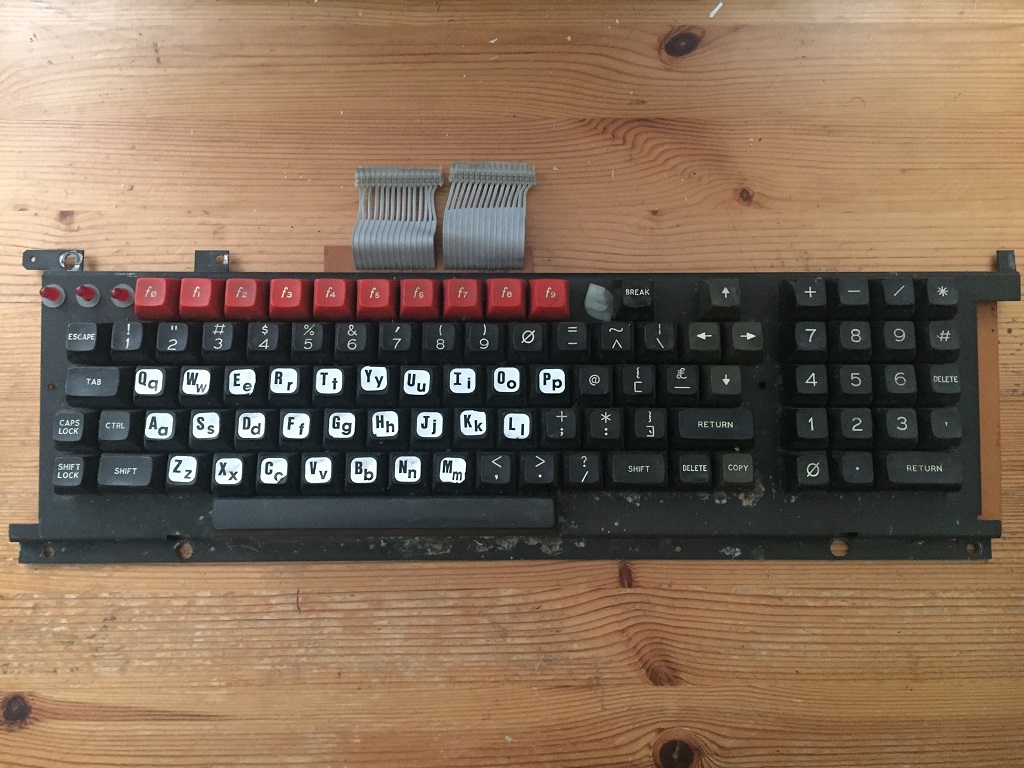
They had put white high-contrast stickers on each of the alpha keycaps, presumably to assist students with visual impairments.
The case needs a bit of a clean, and has a large sticker on the lid proclaiming the address of its previous owners.
It’s slightly scuffed, but the plastic is intact: there are no cracks, and the internal screw posts are okay.
I have no idea whether this machine is in a working state. I dare not fire this machine up, given the original RIFA capacitors on the last Acorn power supply blew within minutes of me plugging it in. Not going to take that chance.
Repair plan
I think this will cover all the bases
- Remove the lid, clean and remove the stickers.
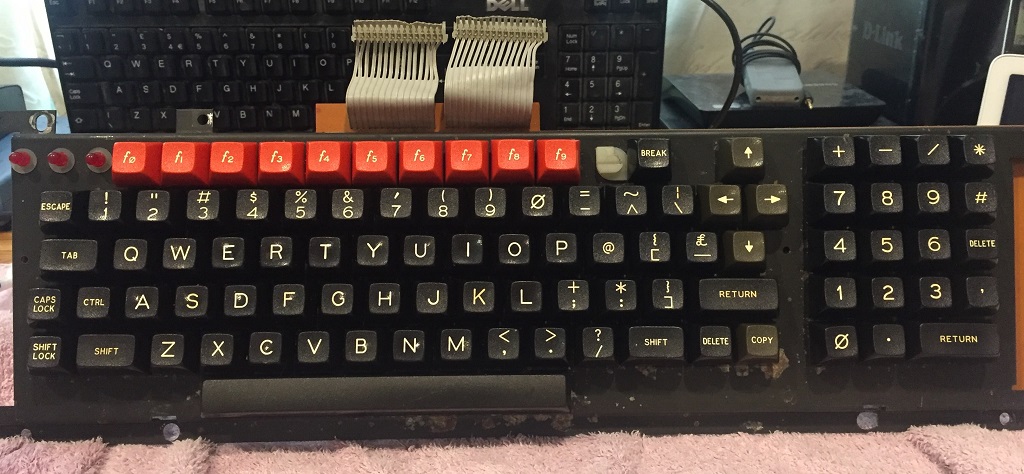
- Remove the keyboard, pop all the keycaps off, clean, remove stickers and reassemble.
- Remove and recap the power supply (the keyboard needs to be lifted to get this out).
- Assess the motherboard.
- Replace the CMOS backup battery.
I will also need to check I can connect the Master to a modern TV, and purchase an SD card storage solution.
Removing and cleaning the lid
This is fairly straightforward. Four screws on the underside to remove the lid. The rear-most screws are probably the longest screws I’ve seen in a computer. I gave the lid a good scrub with a microfibre cloth in soapy water, and left it to dry. I was a bit concerned about removing the perspex cover above the function keys in case it shattered. It needs to be flexed a bit to remove it, but it came out fairly easily.
Stripping the Keyboard
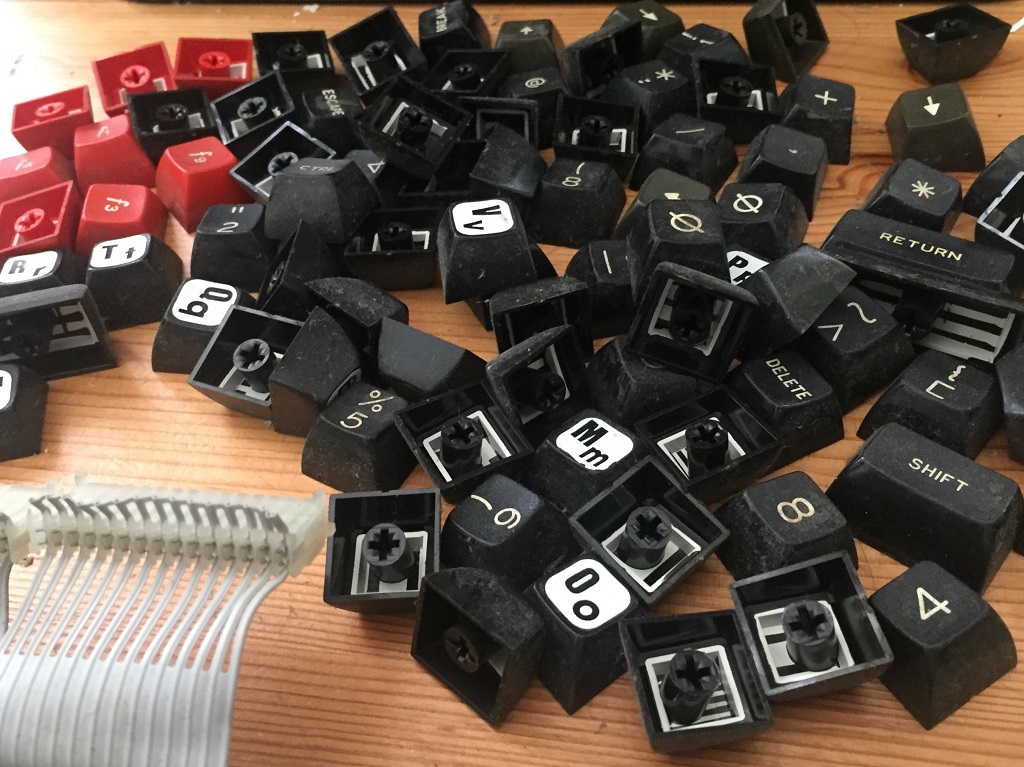
The keyboard is attached to the case with three screws, and to the motherboard with two sturdy ribbon cables. Removing the keycaps is a straightforward task – they pop out quite easily with a small amount of force. I use a plastic opening tool to avoid damaging the plastic.
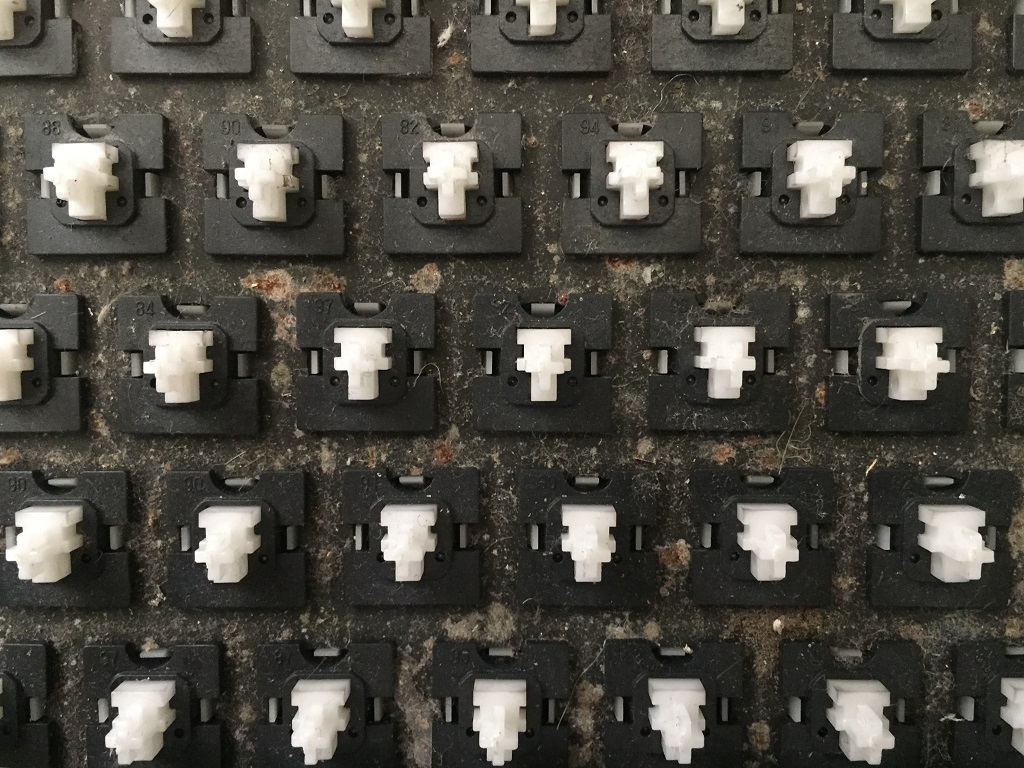
The backplate itself is slightly corroded, but that is not noticeable underneath the keyboard fascia.
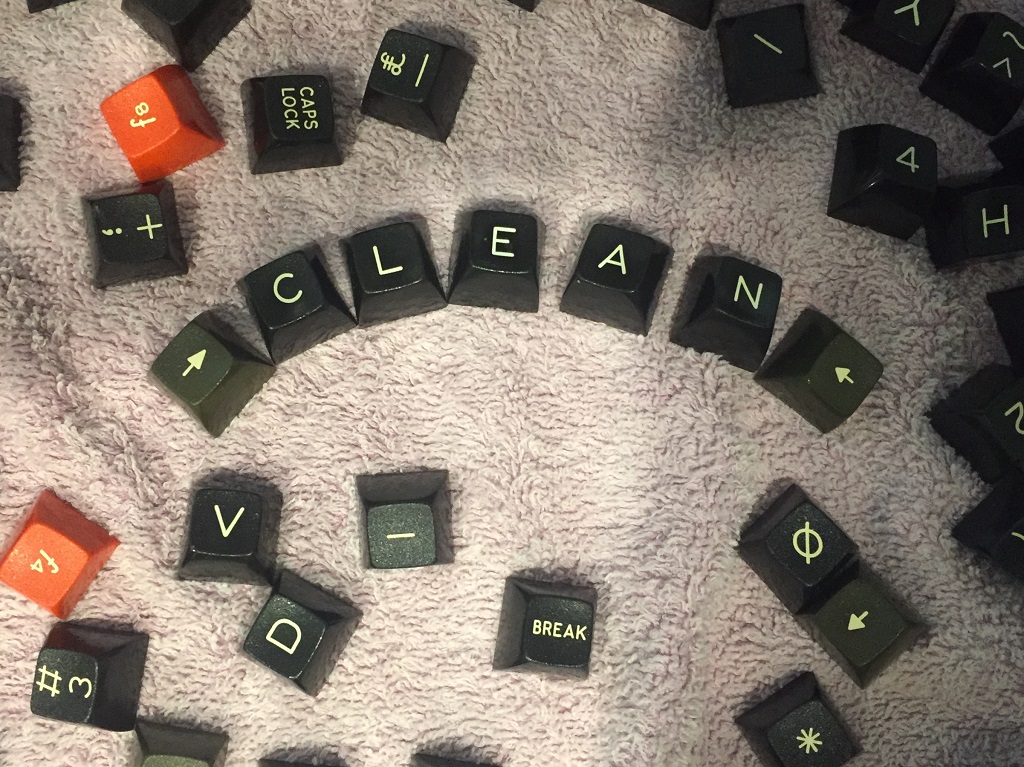
I let the keys soak in warm soapy water to loosen the sticker adhesive, and gave them all a light scrubbing with a toothbrush. Thankfully the stickers came off quite easily and with no damage to the key legends.
Recap the Power Supply
The power supply is attached to the Master by four screws on the underside of the case, and like the power supply in the BBC Micro, supplies the motherboard with three 5V lines and a single -5V line. It is fairly easy to remove.
This power supply is a different model from the one I recapped in the BBC Micro, but still contains the dreaded RIFA X2 capacitors. Thankfully they’re the same values, and had ordered two sets. A harsh lessons was learned after I blew up the BBC Model B power supply, This was not going to be plugged in until it had been recapped.
Assess the motherboard
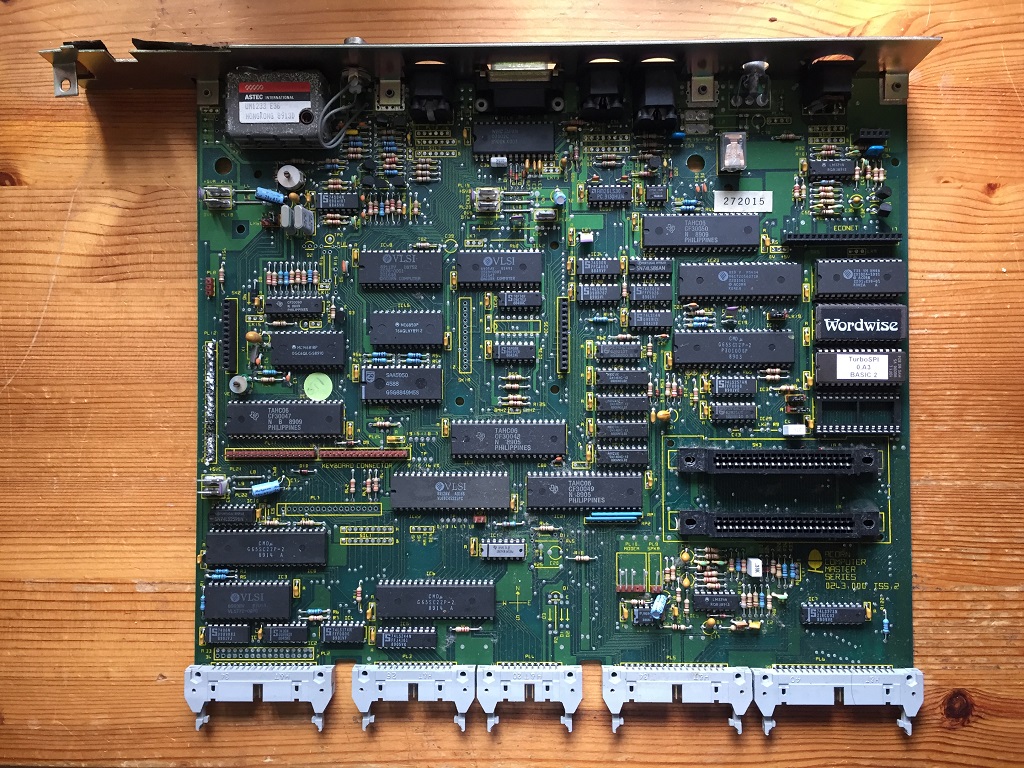
The motherboard is fairly easy to get out once the keyboard has been removed and power supply cables have been disconnected:
- Disconnect the CMOS battery
- Remove the speaker / cartridge slot assembly (connector to speaker on the motherboard under the keyboard)
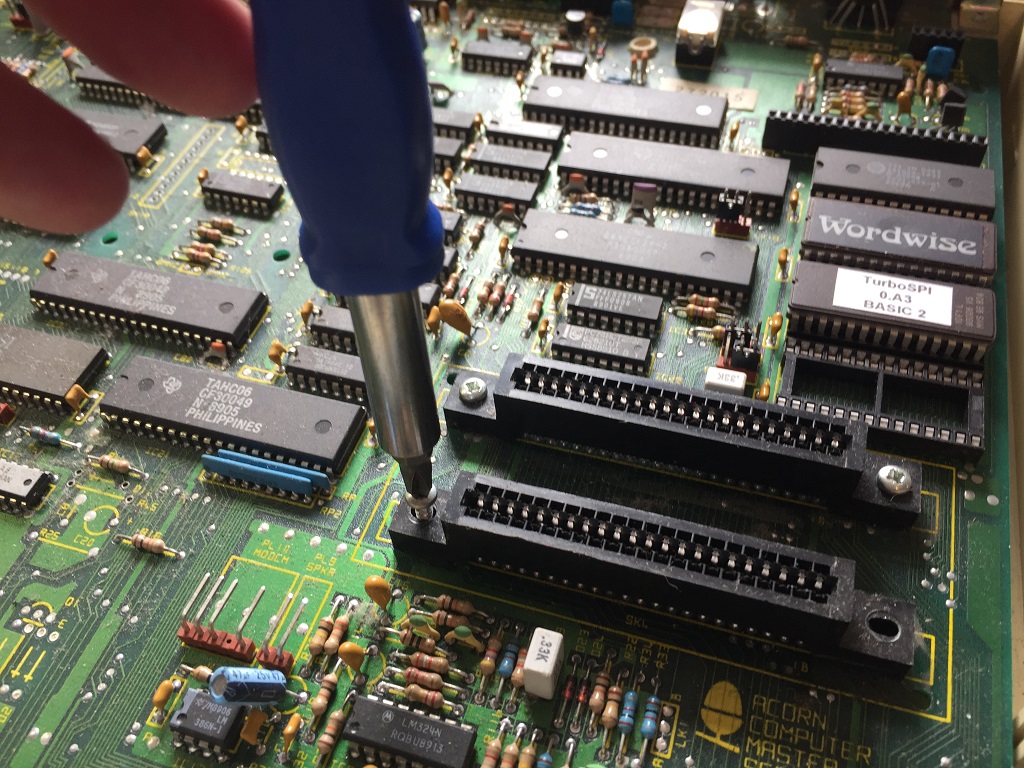
- Unscrew the 4 screws on the cartridge connectors – these secure the motherboard to the base
- Gently lift free
A visual inspection of the motherboard revealed no repair work had been done previously, and the on-board capacitors looked okay.
Reassembly and Testing
The BBC Micros are a joy to work with. It is relatively easy to strip and reassemble them. I took care to take photographs during disassembly; these are handy to refer to during assembly. I took special care to ensure the power connectors to the board were correctly inserted. Thankfully, the connector polarity is well marked on the board.
And I was glad that, unlike the Model B I was donated, the Master fired up first time.
There still a couple of things wrong with it.
- The Ctrl, T and / keys are a bit intermittent.
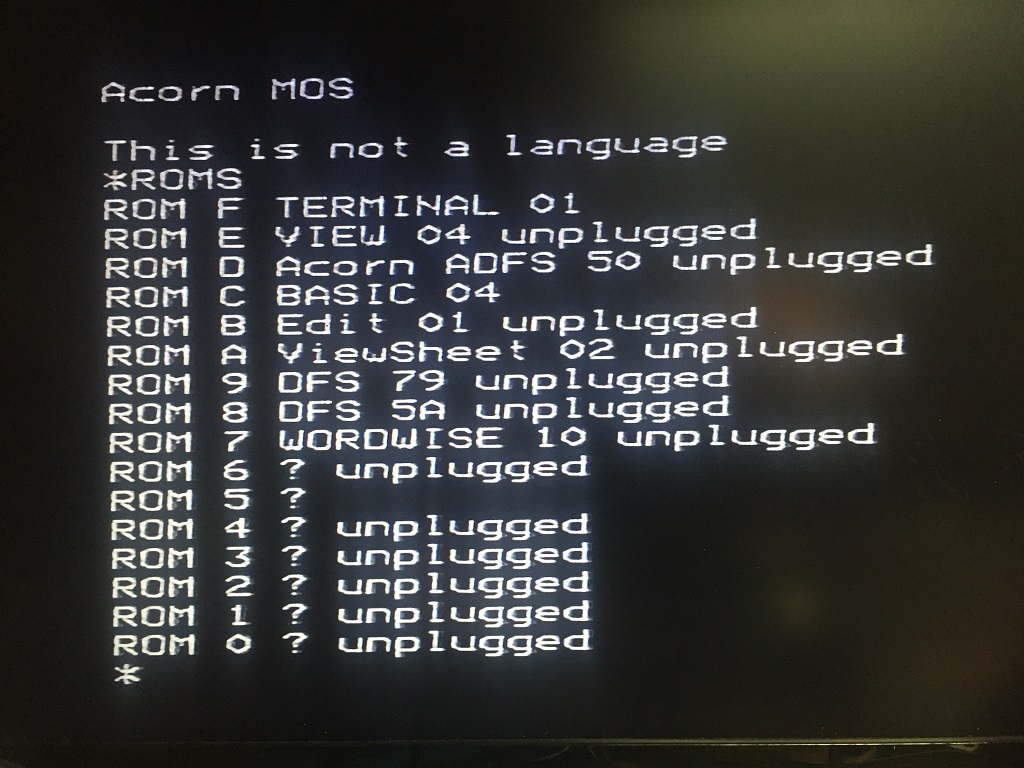
- It boots up with the error “This is not a language” on screen.
The Boot Issue
The Master, unlike the Model B, has a battery-backed CMOS RAM chip for maintaining settings, much like a modern PC. The one fitted to mine is a shrink-wrapped pack of 3 Duracell AA cells, with a diode and resistor to prevent the motherboard from charging it.
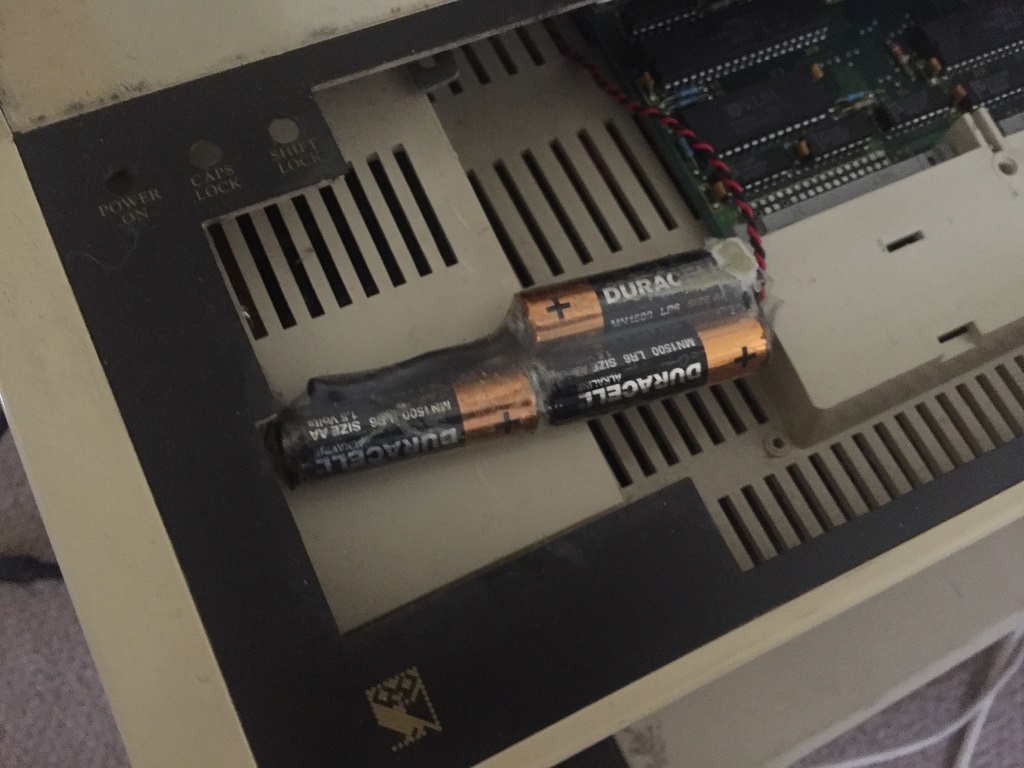
If the battery is dead, then the CMOS RAM and real-time-clock will not be preserved when the power is off. One of the CMOS options is the default start language ROM, hence the error “This is not a language” being displayed.
The batteries on mine are clearly dead. They are in a bit of a state, but have not leaked. Thankfully even if they did, they’re situated away from the motherboard, tucked into the left-hand corner of the case, so would probably not do any permanent damage.
As an aside, the motherboard is designed to charge a rechargeable battery, though it’s more common to see Masters fitted with non-rechargeable batteries like mine. This is apparently an official part. I ordered a new CMOS battery on eBay from RetroClinic and, whilst online, ordered a Micro SD card adaptor to fit in the User port.
Fitting the CMOS Battery
The CMOS battery I ordered is a 3.6V Lithium Thionyl Chloride cell. It comes in a holder, and with the resistor/diode components fitted. According to RetroClinic it should be good for 5 years. When fitting, it doesn’t matter which way the battery plug goes into the board; the +V pin is in the centre, with ground either side. The holder has a self-adhesive backing, so I installed it next to the power supply.
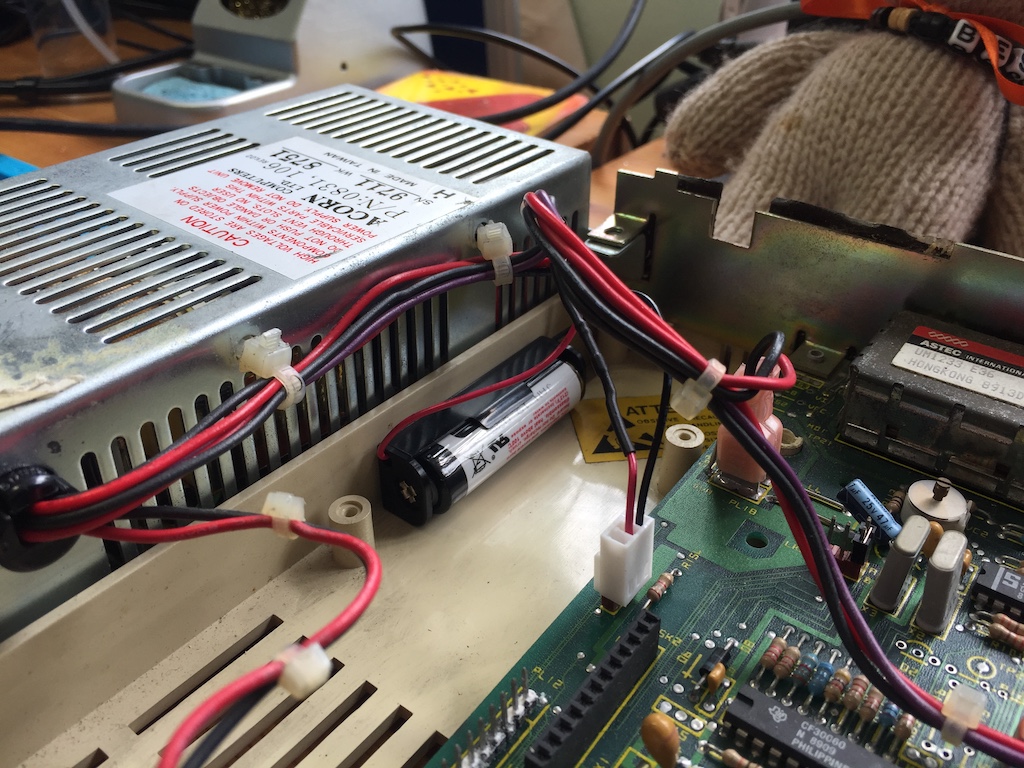
After fitting the CMOS battery, I needed to reset the CMOS and enter new settings:
- Power up the BBC whilst holding the R key.
- An option to reset the CMOS is displayed on screen. Press BREAK to reset.
- The computer will then reset into a command line screen.
- If the command line does not appear – press CTRL+D+BREAK.
The minimum CMOS config setting is:
*CO. LANG 12
*CO. FILE 9
*CO. MODE 135
You do not need to put the * in; this seems to be automatic.
This will set the language ROM to 12 (BASIC), the file system ROM to 9, and the display mode to 135 (Mode 7 with shadow RAM).
In addition, the following configuration settings are recommended:
*CO. BAUD 4
*CO. NOBOOT
*CO. CAPS
*CO. DATA 4
*CO. DELAY 50
*CO. NOTUBE
*CO. NODIR
*CO. FDRIVE 0
*CO. FLOPPY
*CO. IGNORE 10
*CO. LOUD
*CO. PRINT 1
*CO. REPEAT 5
*CO. SCROLL
*CO. TV 0,1
And after you’re happy, do a Ctrl+BREAK.
The CMOS reset does not seem to affect the real time clock (RTC) and outputting the time prints gibberish on screen. I decided to set the time, but noted that the BBC Master RTC is not Y2K compliant whilst attempting this. As the calendar repeats every 28 years, I’ve just set mine to the correct day and month, but in 1992. There are various fixes for this, but for the moment, this will suffice.
To set the time from BASIC, enter the following, ensuring you use the same punctuation (the Beeb is quite pedantic about this).
TIME$ = "Mon,22 Jun 1992.17:45:00"
To print the time, simply type one of the following commands:
*TIME
PRINT TIME$ : REM This variable can be used in your BASIC programs
Installing the Micro SD Card Adaptor
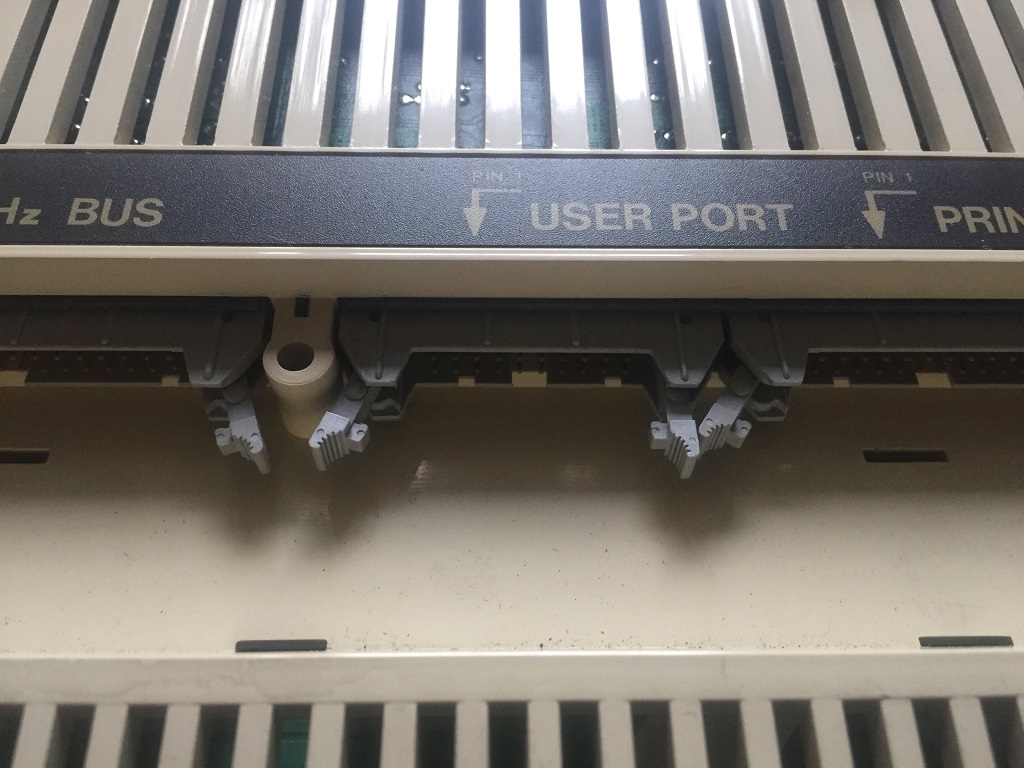
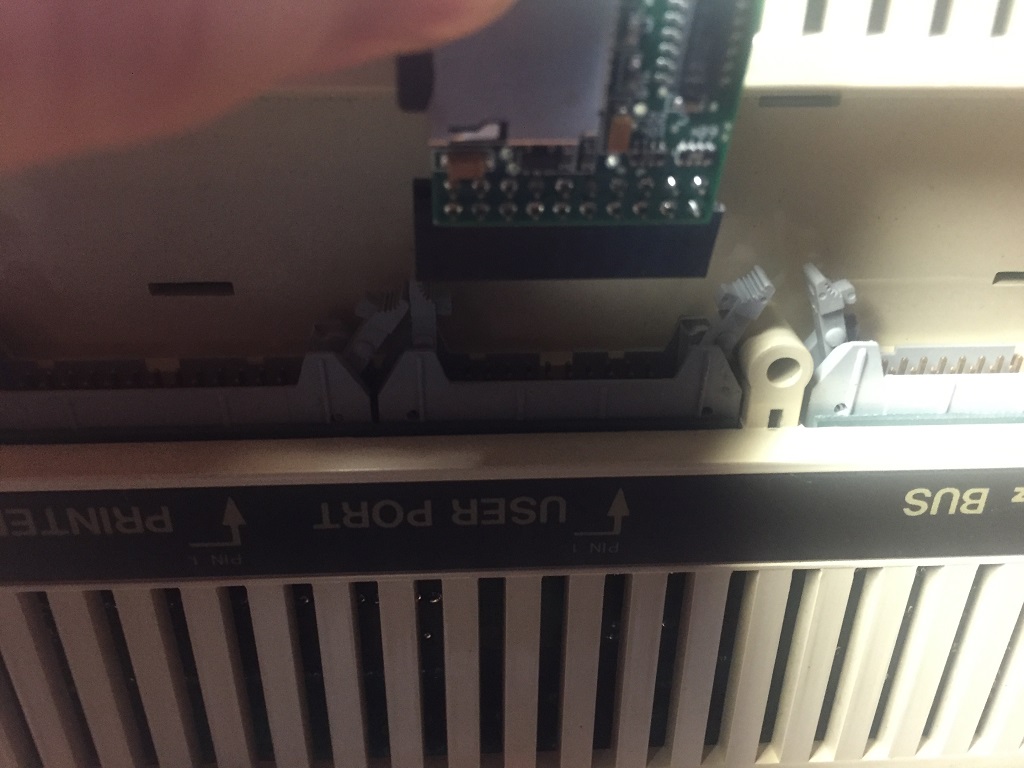
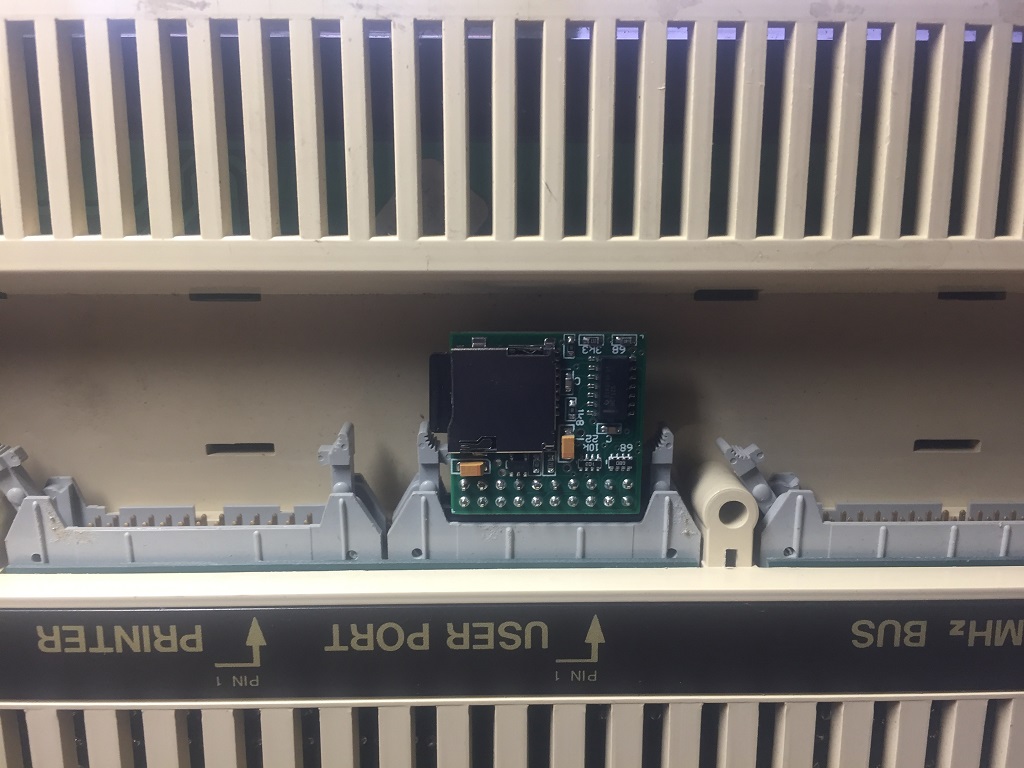
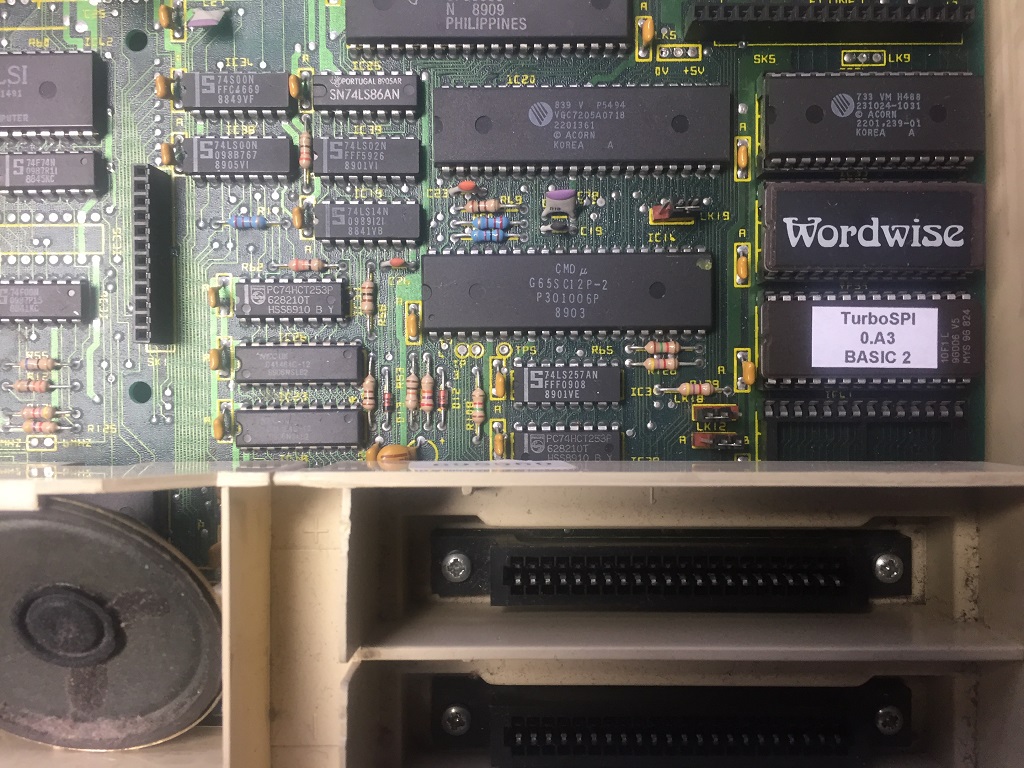
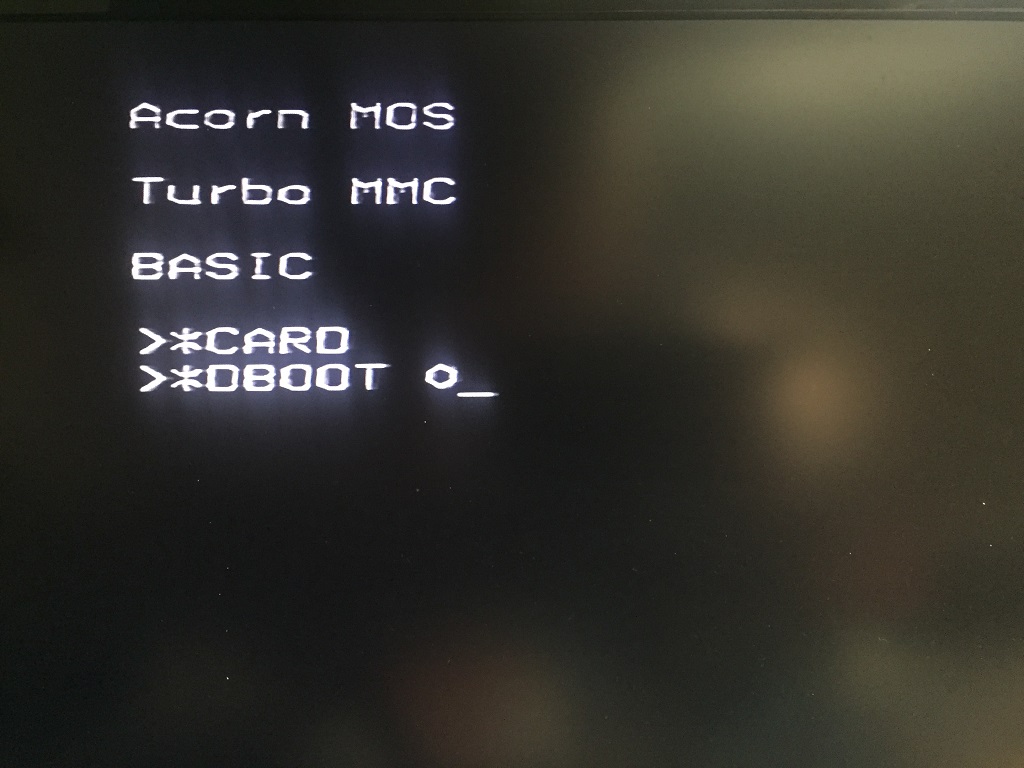
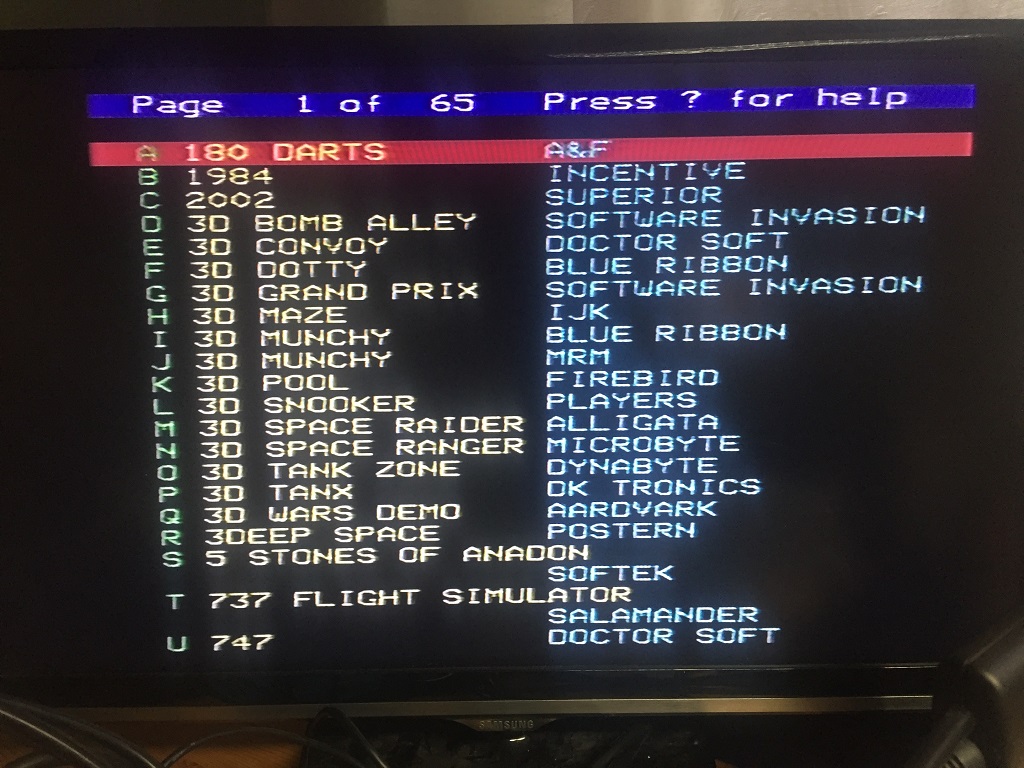
There are a number of SD card adapter options available online. I opted for a cheap Micro SD card solution that fits snugly in the User Port. The kit came with an EPROM that contains the MMC DFS (disk filing system). I fitted this into the 16K sideways ROM slot for ROM 8, inserted the board, and thankfully it worked first time.
Video Output
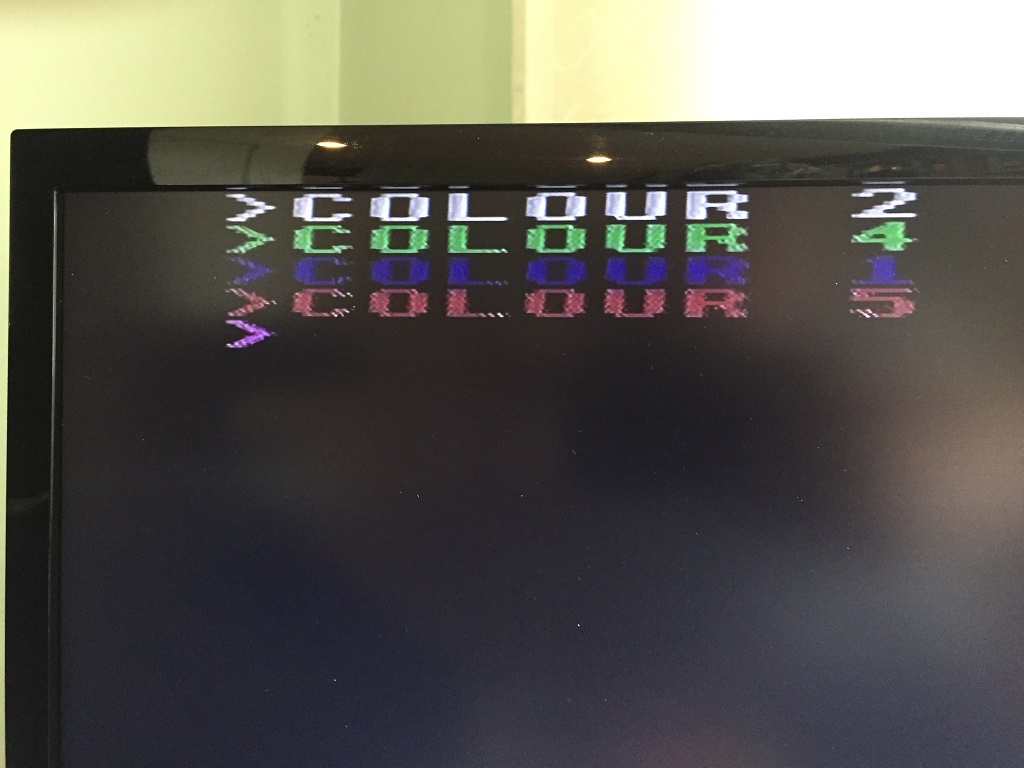
The modulator output is fairly crisp and clear, and my LCD TV has no issues tuning into it – not bad for a 30 year old machine. The Master also has a dedicated composite video output socket, so no need to make any changes there. However, it is factory set to monochrome, which seems to be the norm for Acorn machines of this era.
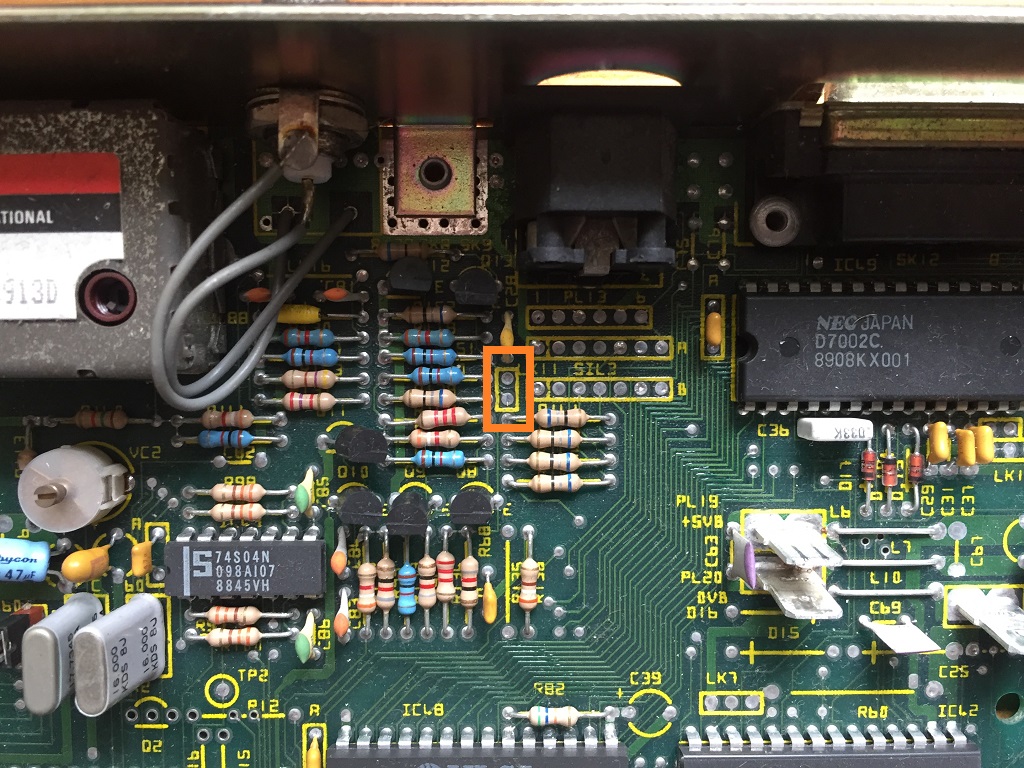
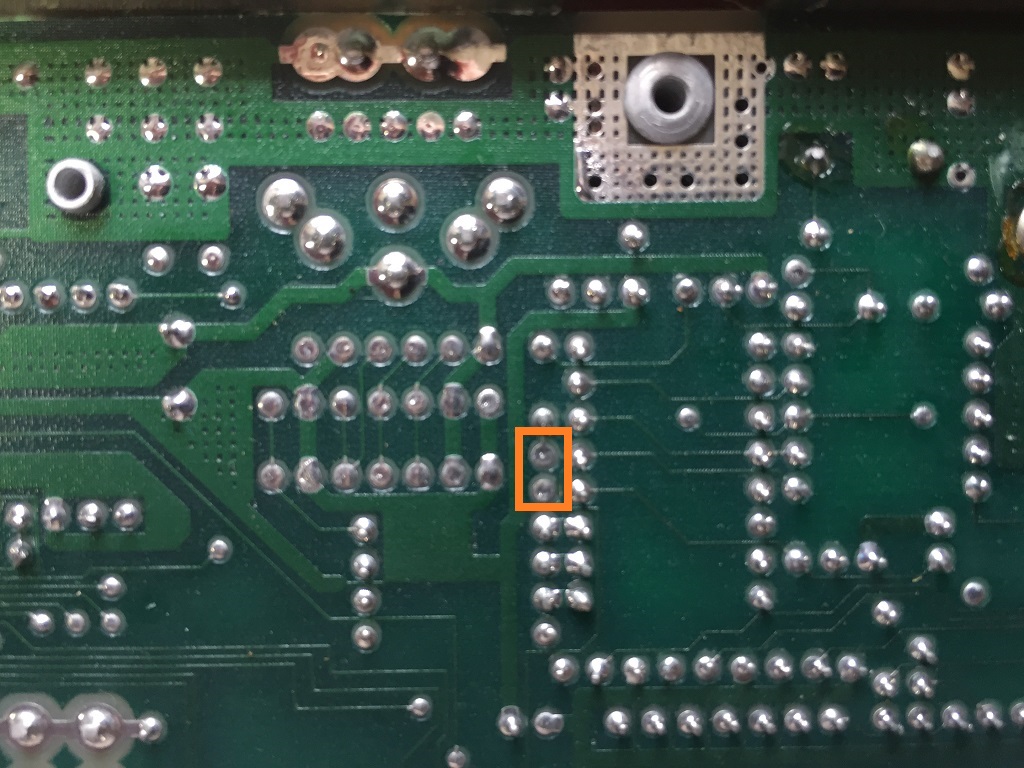
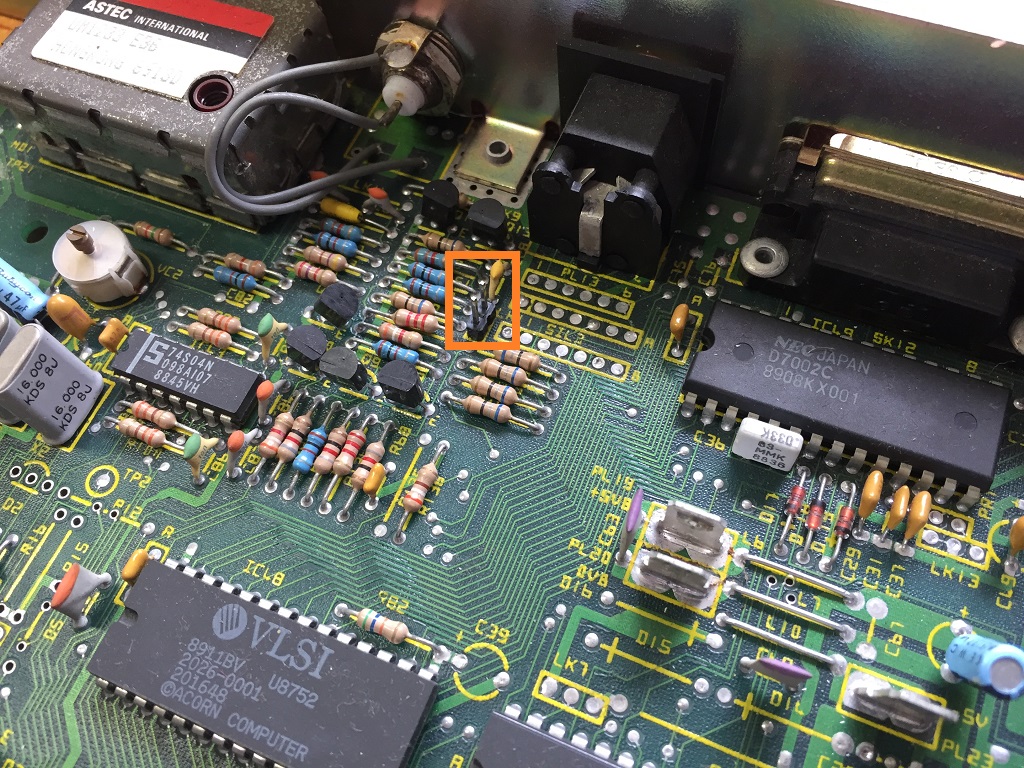
Adding the colour signal on Issue 2 boards is fairly straightforward, once the motherboard is removed.
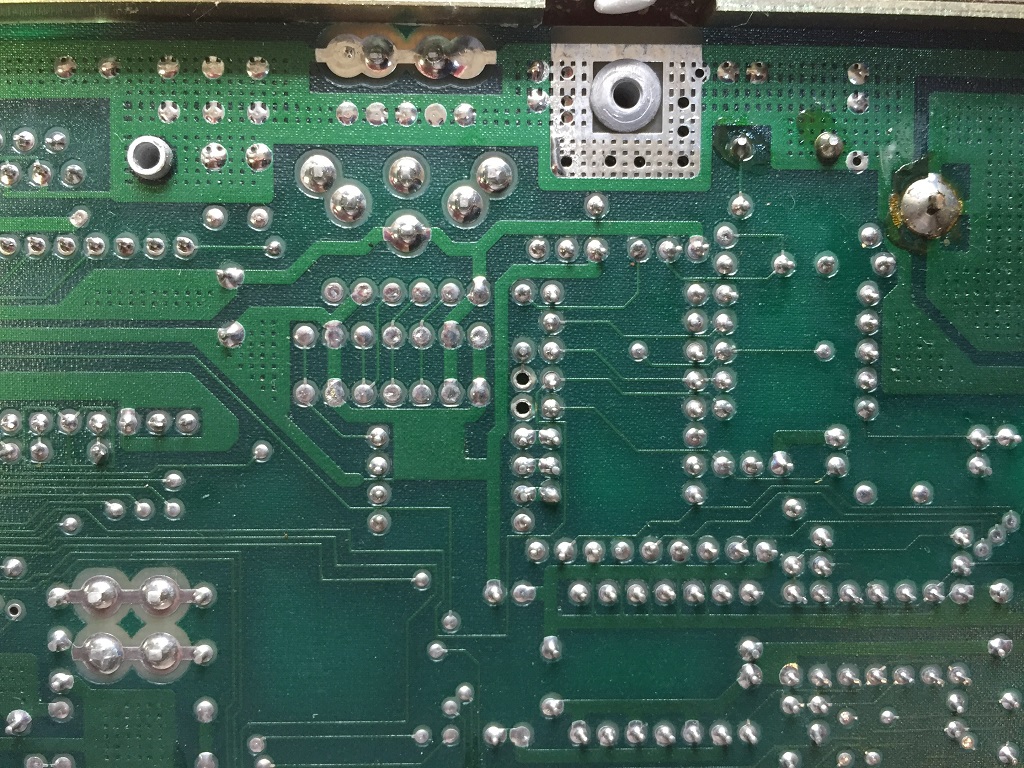
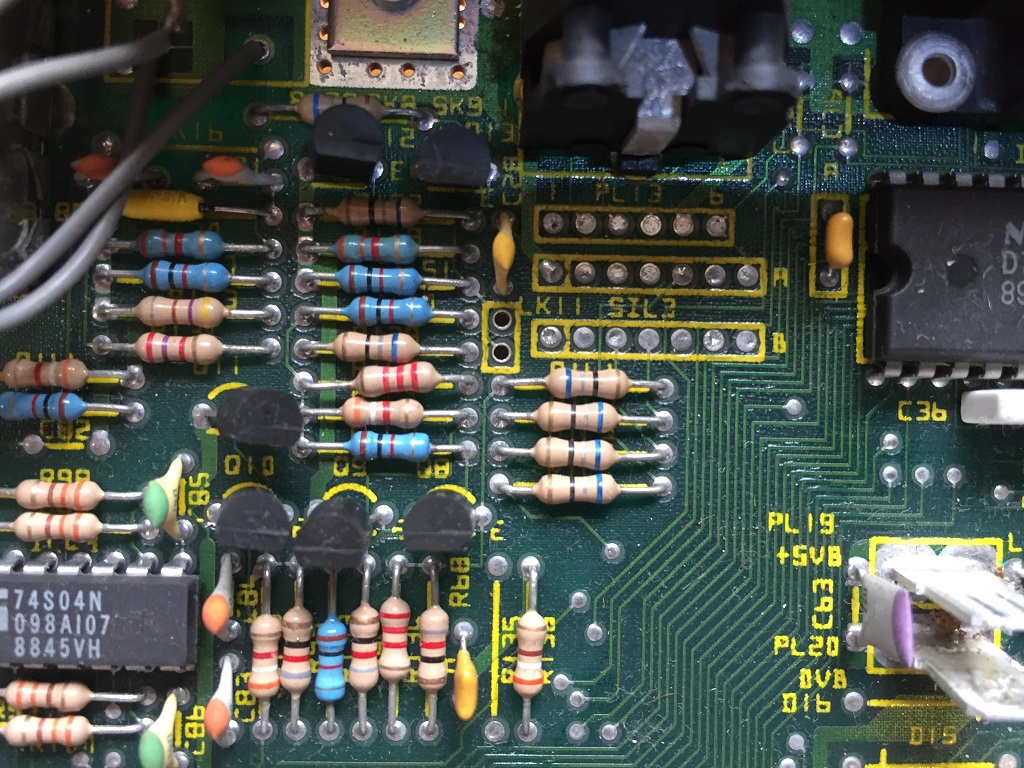
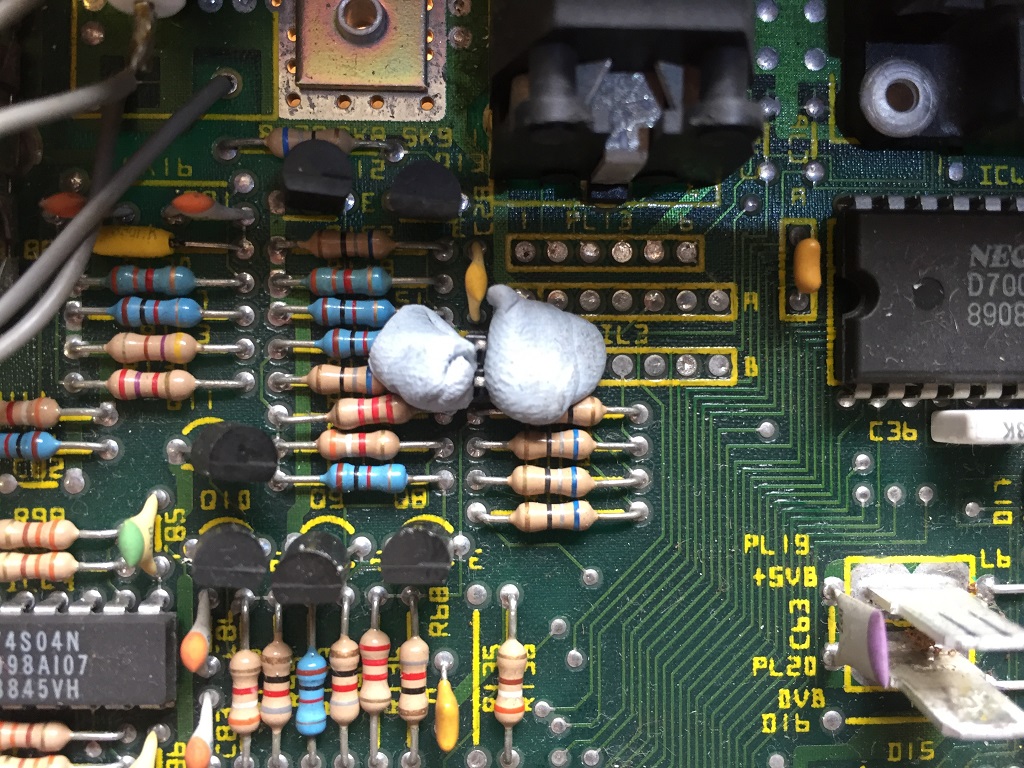
I soldered a jumper to LK14. This link is available on Issue 2 motherboards, and is located to the right of the modulator. have read that when this link is fitted, it may degrade the RGB signal, so prefer adding a pin header and jumper rather than soldering the link, so I can easily revert back to monochrome if necessary.
Note: Issue 1 boards do not have this link and require extra components to be soldered in.
The composite output connector is BNC, not RCA (phono). I purchased a bag of 5 RCA connectors for a couple of quid on eBay. This meant I could use a standard RCA to RCA cable to connect the Master to my TV.
Intermittent Keyboard Fix
I’ve sprayed some contact cleaner down the shafts of the intermittent keys. I hope that will be a permanent fix. Otherwise I’ll need to remove the faulty switches and solder new ones in.
And Finally
I now have a working BBC Master 128. There are still some things that I’d like to do to it, but am happy it is more or less stock.
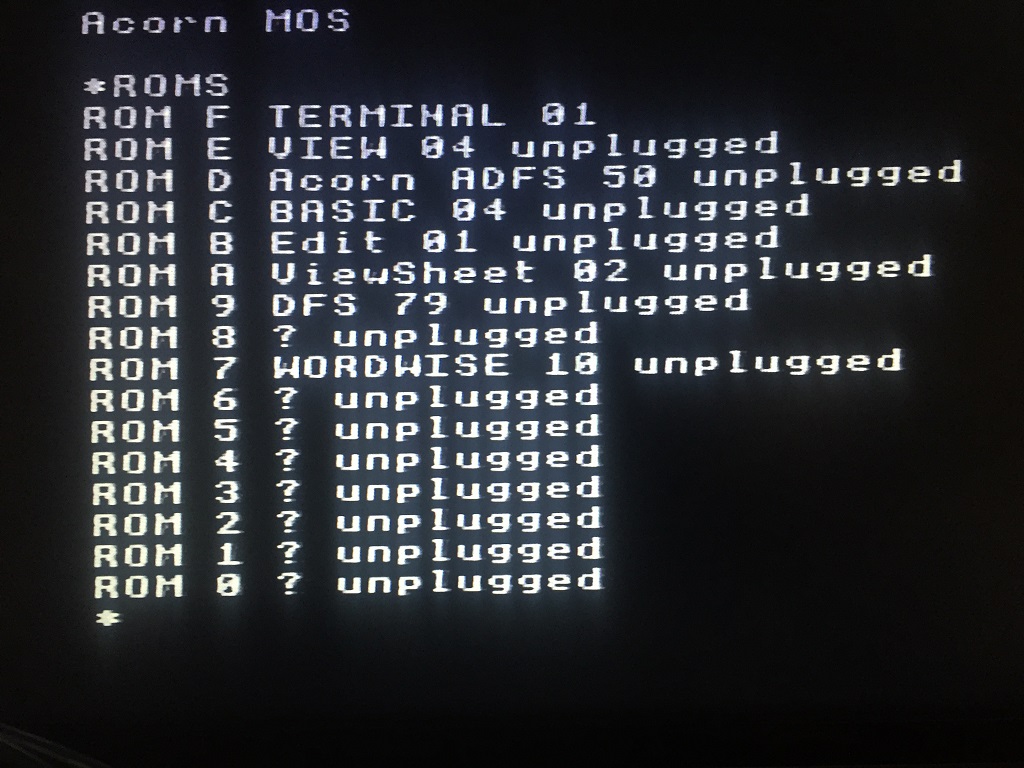
I realised whilst writing this post that my Master has a non-standard sideways ROM, the word processor Wordwise. I’ve temporarily disabled this by moving LK18 to the left position. When disabled, ROMs 6 and 7 are occupied by paged RAM. Some games written specifically for the Master, like Elite or Stunt Car Racer require all the memory, and the shadow RAM can also be used to load in temporary ROM images using the *SRLOAD command.
And reading up on the Turbo MMC file system, I’ve realised it moves PAGE up to &1900. Some games will only work if PAGE is in the usual place, &E00. The SD card does have a ROM image of MAMMFS, which leaves PAGE at &E00.
At the moment I’m happy loading the MAMMFS into shadow ram using *SRLOAD (included on the SD card), then disabling the Turbo MMC ROM with the *UNPLUG command before loading Elite:
*DIN 314 (location of the MAMMFS ROM on the SD card)
*SRLOAD MAMMFS 8000 4 Q (load it into Shadow ROM slot 4)
*UNPLUG 8 (unplug the Turbo MMC ROM)
That, followed by a Ctrl+BREAK seems to work, but may look at burning a MAMMFS ROM and using that instead of the supplied Turbo MMC ROM, mainly because the shadow memory is not preserved by the backup battery, so the ROM is lost when the Master is switched off. So on reboot, one has to:
*INSERT 8 (plug the Turbo MMC ROM back in)
Followed by another Ctrl+BREAK.

